Looking to do something a bit different this Fathers Day? We know there are only so many pairs of socks you can buy for Dad, and if he doesn’t drink or have any sporting interests then it just makes finding a good present even harder! Well no fear, we’ve teamed up with local crafting legend Michelle from The Crafty Foxes and come up with some great Fathers Day crafts for you to make!
They’re quick and simple makes and all of the steps below are outlined… just follow the steps and before you know it you’ll have the perfect present for Dad – it’s personal, it’s from you and it shows thought and effort has gone into it!
Search online for Fathers Day crafts and there are hundreds, if not thousands of ideas, ranging from easy to really really complicated! We’ve focused on what you can do with one of our Decorative Photo Frame Sets. Containing 8 different frames, some of which are linked by string to create a hanging collage, there’s something for everyone here. You can split the frames with a sibling to see who makes the best frames for Dad. Or go all out and make a range of personalised frames, which Dad is bound to love!
In terms of difficulty levels, all of the ideas you see below were created within a 3 hour session with Michelle. You can take longer or less time, depending on how you want to decorate your frames – remember as with all of our craft ideas, including Fathers Day crafts, you are limited by your imagination only!
Make 1:
So let’s start! We’ll start with the largest part of the Fathers Day crafts make – the big D-A-D frames:
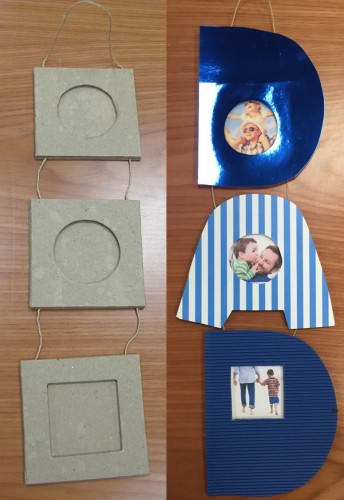
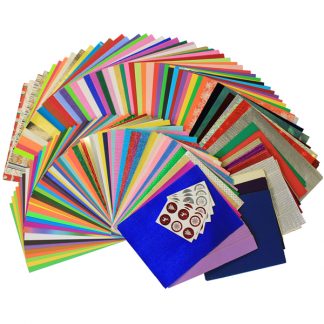
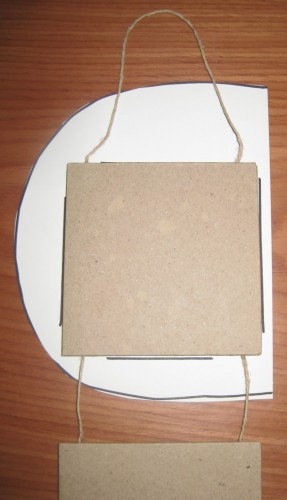
From your Decorative Photo Frame Set, take the three frames connected by craft string and choose three types/colours of card. In this instance we’ve used card from our Craft Papers Bundle. This contains hundreds of sheets (540 in fact) of different cards and papers. We’ve chosen blue – one metallic sheet, one stripey sheet and one corrugated sheet – but you can choose whatever colours/patterns/types of card you wish to use when it comes to your Fathers Day crafts!
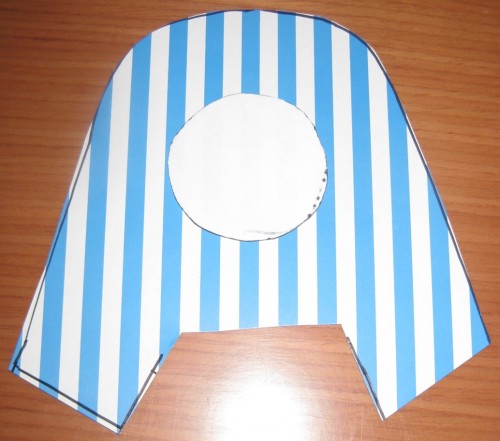
Then draw around the outside of the frames on the reverse of the card in either pencil or marker pen. Once that’s done, draw a large bubble letter around the template and cut out the shape. Handy tips: If it’s the letter D make sure you reverse it so it shows the right way when you stick it on the front. Also, we’ve suggested drawing on the reverse so if you don’t cut the shape within the lines you won’t be able to see them when it’s finished!
It should look something like this by now:
Repeat the process for the other letters on the different types of card. Once you’ve cut out all of the other letters, make sure they all fit on to the frames without touching each other. If they’re slightly too big, trim down accordingly.
Next step is to cut out the windows. For the frames with the circle window, you’ll need to draw out a 57mm circle (you can use an old school compass for this, or Word for example to create the right size circle on screen then print it out). For the frames with the square windows, you’ll need to measure out a 57mm x 57mm square. Remember to check if your letter needs a circle or square cut-out as contents may vary per set of frames.
Hopefully your cut-outs will now start to resemble this on the reverse:
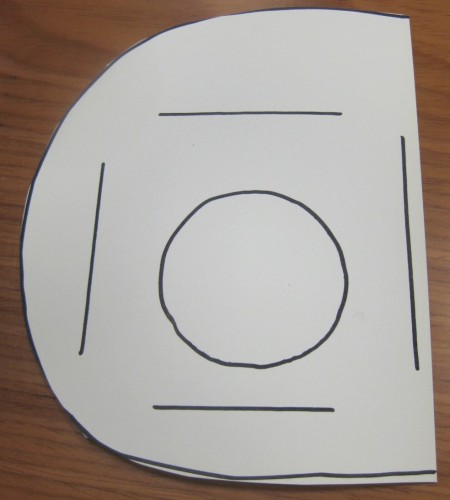
Once you’re happy with the measurements, cut out the centre circles or squares, turn the letters over and make sure they fit:
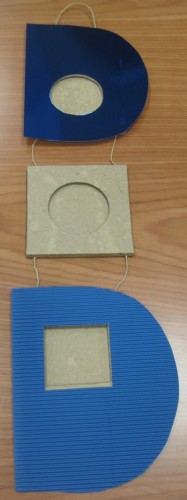
Repeat the process for the other letters and insert your photos into the frames. Then finally, glue the letters onto the top of your frames. We’ve used standard crafting glue here. Put the glue on the frames rather than the letters.
And that’s it, your frames are done! Leave to dry and present to Dad this Father’s Day!
Make 2:
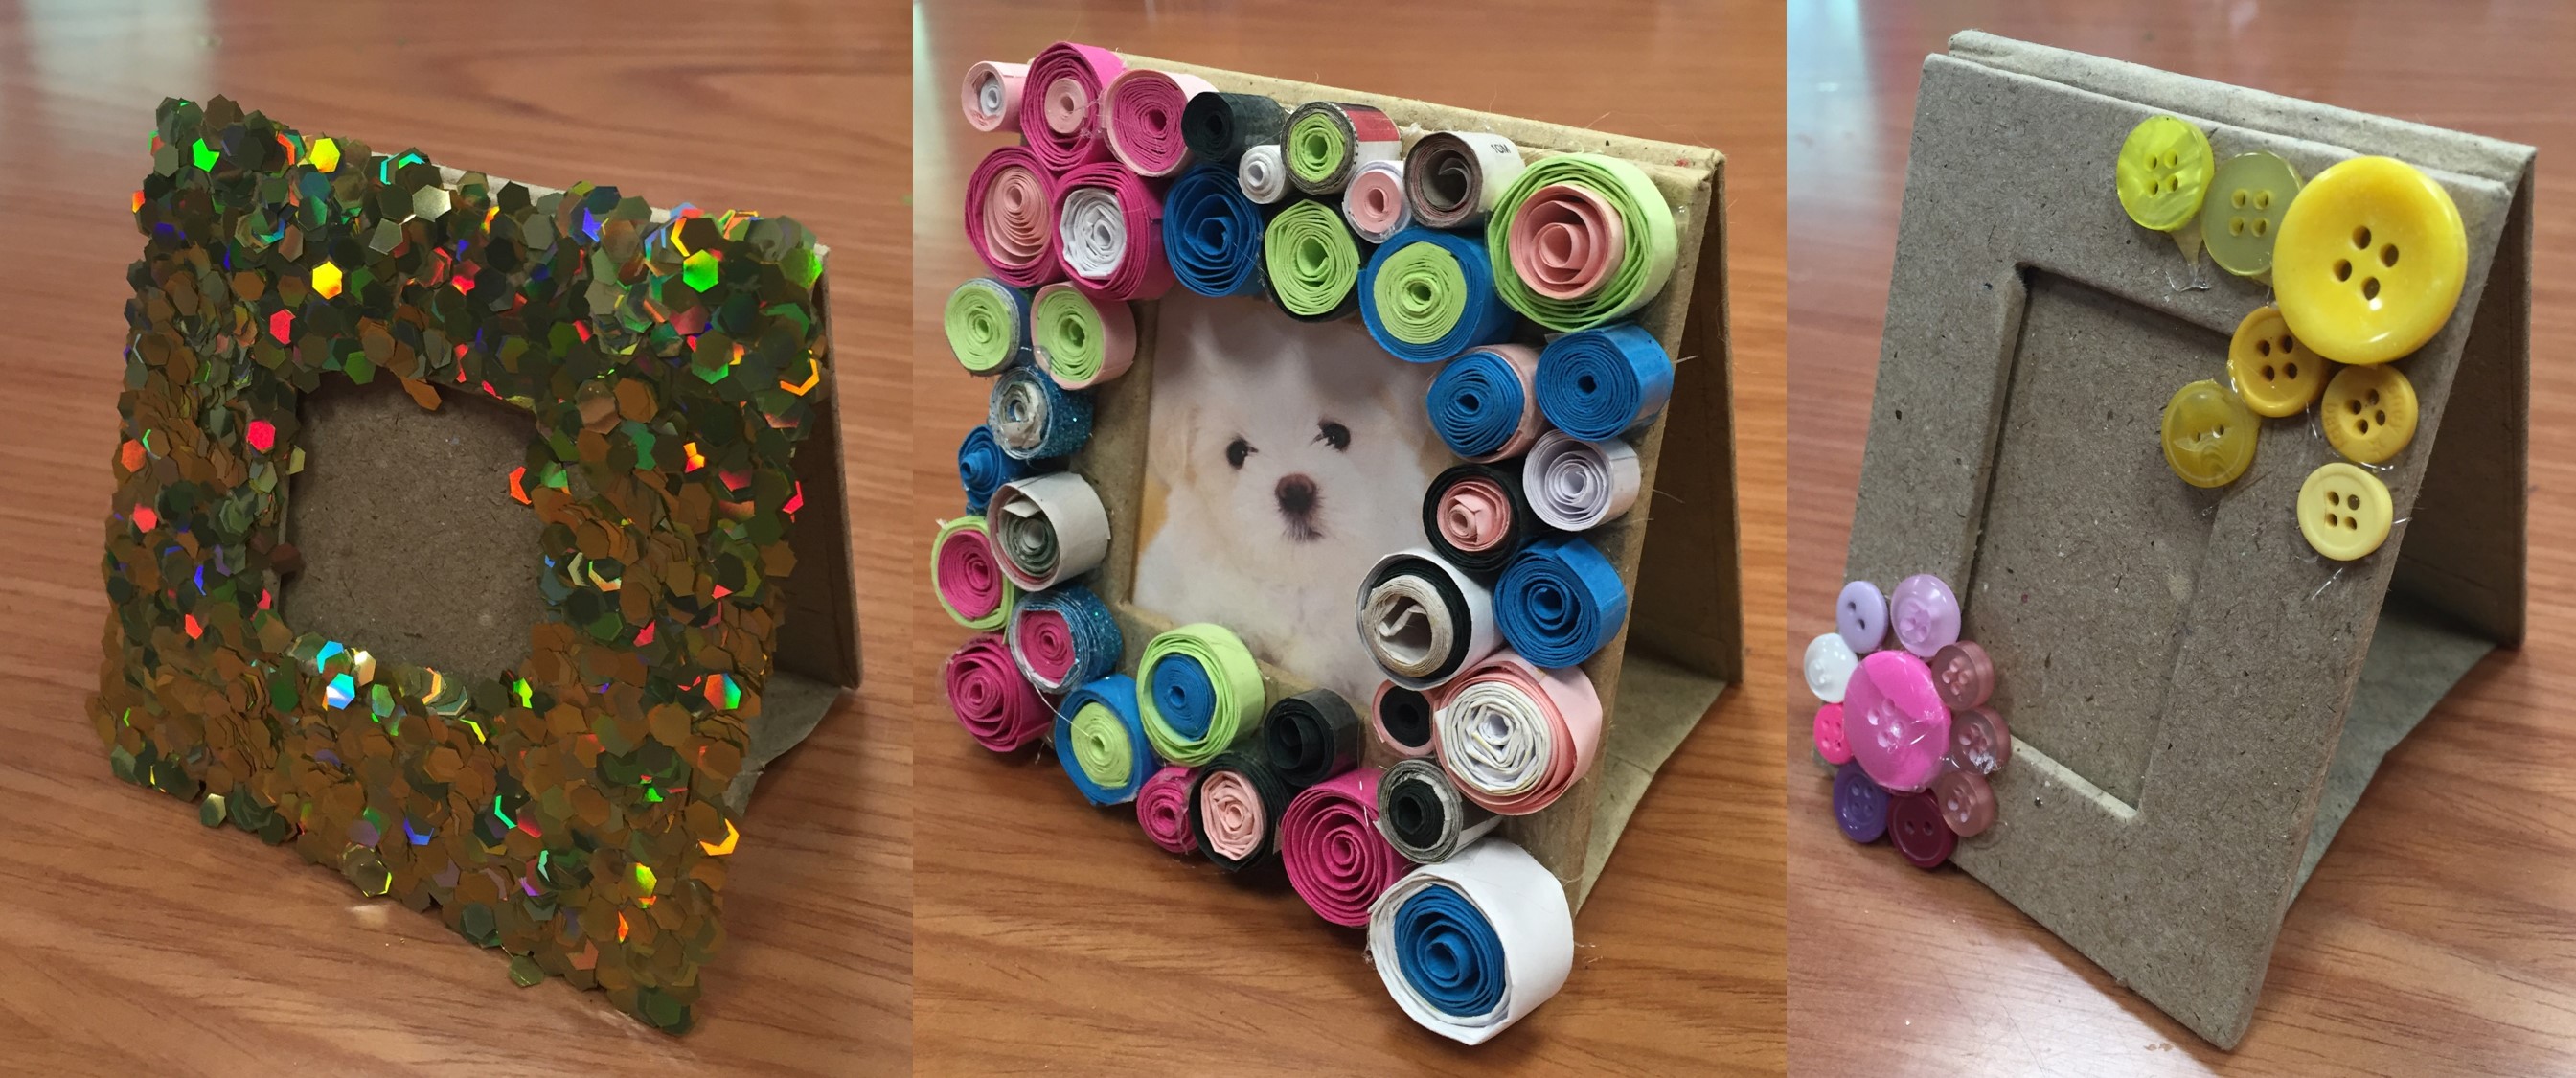
This is a quick Fathers Day crafts make! We took the smallest freestanding frame, applied craft glue all over the front and then dipped it in some gold hexagonal glitter shapes:
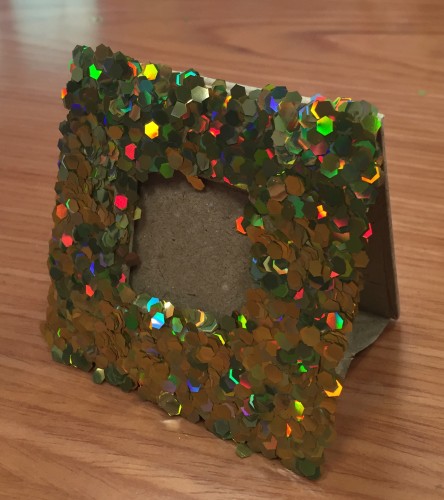
You can choose any colour or style of glitter for this one, it’s totally up to you! We think these are the best though. Leave to dry, shake off the excess glitter and this one’s ready to go! Just insert your photo.
Make 3:
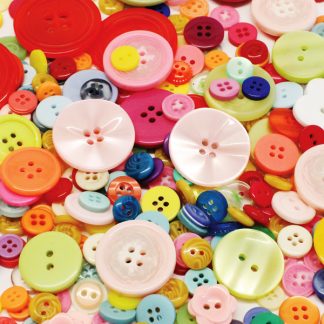
Another quick Fathers Day crafts idea here… We’ve not painted this frame to save time and because we like the rustic effect, but feel free to decorate your frame as you see fit. Quite simply with the middle-sized freestanding frame, we’ve stuck some buttons from our assorted pack onto the frame, some at the top to make a sun with rays, and some at the bottom to make a simple flower!
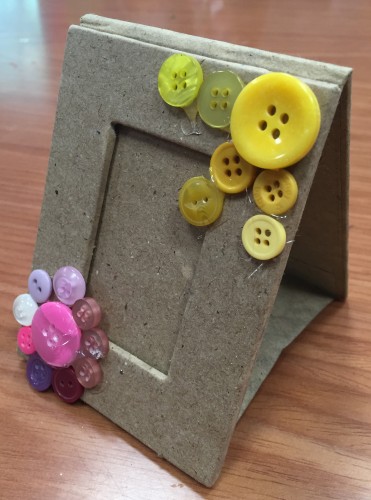
As with all of these frames, you can choose the colours and style buttons you want to use, these are ideas only. But it’s so easy to take a plain frame and turn it into something a bit more special! Just add a photo and hey presto, this one’s done too!
Make 4:
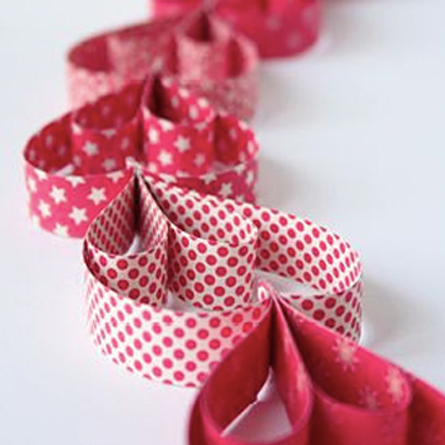
Using the third and final freestanding frame, we applied a common crafting technique called spiral paper quilling to make the frame that little bit different. This technique also gives the frame a fab 3D look to it! This is what we’re aiming to make here:
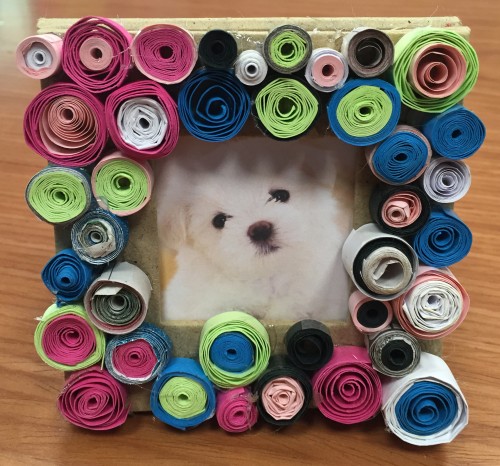
So here’s how we did it. A quick word of warning, this one will take a little longer than the other frames on account of the quilling! But of all the Fathers Day crafts, this one is arguably the best looking!
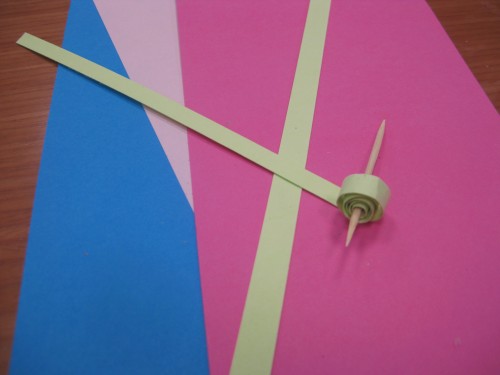
Cut 6mm strips of paper or card, in all different colours. You can use magazines or newspaper too – once it’s been rolled the varying colours and paper materials will add some depth to the texture. Roll your paper strips around a cocktail stick into a tight spiral and then use sticky tape or glue to fix the end and then add another colour on the outside:
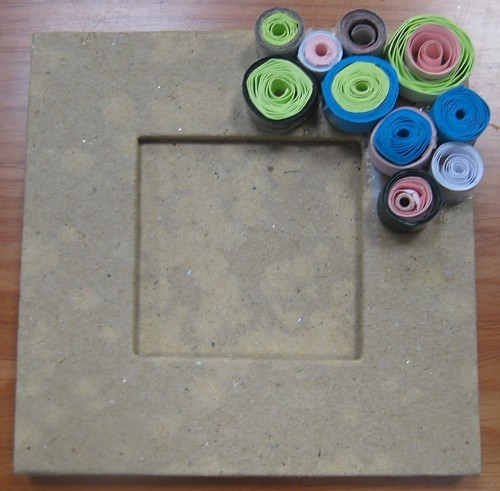
Do this as many times as required to fill the frame. We think you’ll need 40 or so. Once you’ve made these – and these can be made in advance of the rest of this work – glue all the spirals onto the frame using the larger ones first and then the smaller ones to fill the gaps:
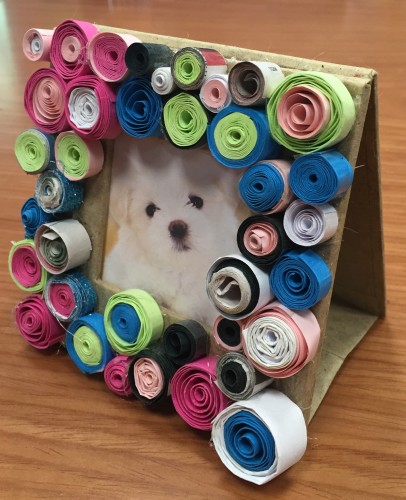
Carry on doing this until the frame is full, add your picture and you should end up with something resembling this:
Make 5:
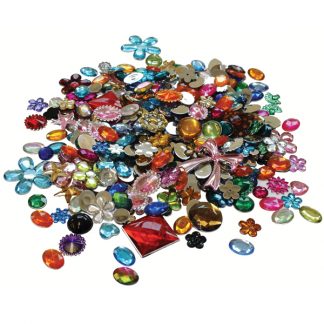
We’ve nearly finished now! The last unused part of the frame set is the double hanging frames. For these, we decided to embellish one with our pack of jewels and sequins and use a technique called decoupage, which is quite simply, the art or craft of decorating objects with paper cut-outs!
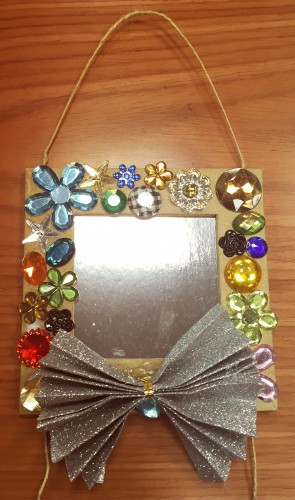
Here’s what the finished product looks like:
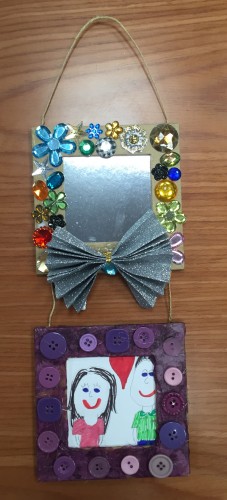
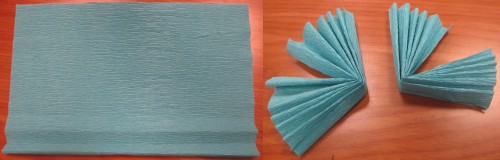
So starting with the top frame, we added in some mirrored card, a paper bow and glued some jewels and sequins to the frame. If you want to paint the frame beforehand you can do. When Dad looks into this frame, it’ll look like he’s wearing a bow-tie as it will appear just underneath his chin!! You can use whichever jewels or sequins you want to use here, you’re limited by your imagination only! For the bow, take a sheet of crepe paper (we got ours from the Craft Papers Bundle), then fold it like you would a fan and you’ll end up with this:
Fix your bow using strong craft glue or sticky tape and that frame is done!
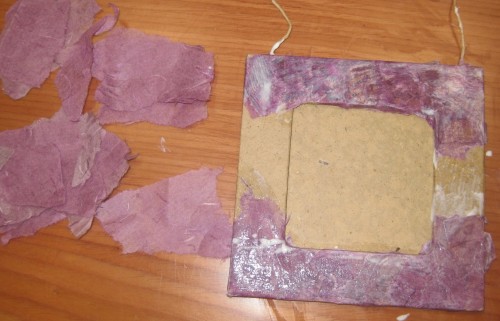
For the bottom frame, we’ve used the decoupage technique. It’s simple really… we took some hand-crafted paper sheets from the craft papers bundle (we used hand-crafted paper sheets because they’re more fibrous which gives a better finish), tore the paper into small pieces and started gluing them directly onto the frame. It gets a bit messy because you need lots of ripped up paper and lots of glue as you start to build up the layers of paper:
Add a couple of layers of paper and glue until you’re happy with the colours and finish of the frame. At this stage we added a layer of Mod Podge (a water-based sealer glue finish which can be used on all surfaces can be used for either quick textured and even built up finishes). If you don’t have Mod Podge, you can make up your own, you just need 1 cup of glue (PVA crafting glue) and 1/3 cup of water. Probably best to check online for further info if you’re making up your own fake Mod Podge… We used this because it seals the frame and provides a nice shine to the finished article. To finish, we added some purple buttons from our assorted pack. These were glued on and we added a hand-drawn picture we think Dad will love; very simple and very effective:

With this technique, you can layer the paper as you wish, mix it up with different colours and textures and you should end up with something that looks like the above frame. We love the fibres that the handmade papers provide – it adds a little bit of authenticity, but if you don’t have this type of paper, our standard tissue paper off-cuts will work just as well!
And that’s it!! Eight different frames and photos for Dad to cherish this Fathers Day. You can adapt any of the above ideas or techniques to create your very own Fathers Day crafts packed with your personality and ideas. Dad is bound to be delighted and you’ll get such a sense of satisfaction from making these frames, and indeed any Fathers Day crafts.
Happy Fathers Day to all the Dads out there!
Until next time, keep crafting!!
The Bright Ideas Team & Michelle from The Crafty Foxes x