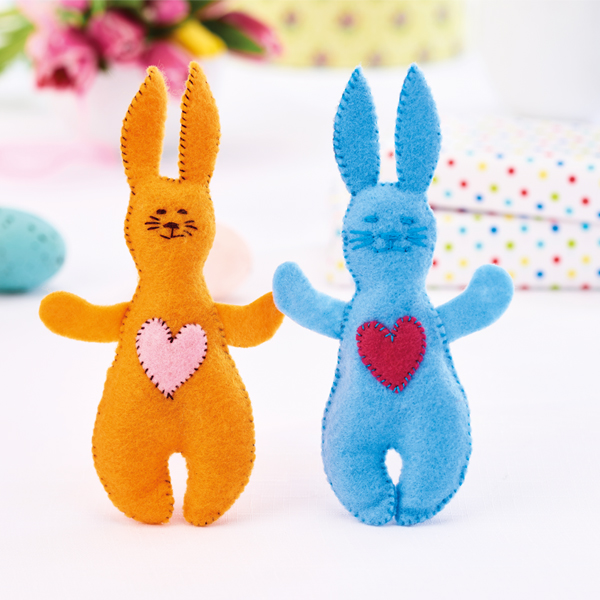
FELT EASTER BUNNY
Looking for a simple guide on how to make a Felt Easter Bunny. Make Easter egg-stra special by creating these adorable bunnies for a fun decoration or a special home-made gift for your kids. We have everything you need to make these cute little fellas… so what are you waiting for? Hop to it!
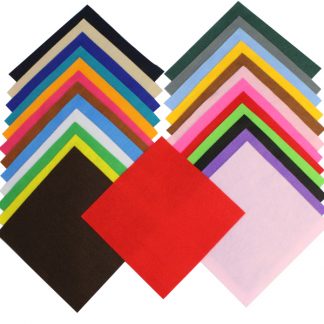
You will need:
Felt squares (two contrasting colours)
Bunny template
Pencil
Embroidery floss
Fibre filling
Glue
Instructions:
1. Use a bunny template to draw four bunny shapes and four arm shapes onto your chosen felt with a pencil.
2. Form two hearts from contrasting colours, then cut inside the lines to avoid messy edges.
3. Glue the ends of the arms onto the back-half of each bunny.
4. Take the front-halves and oversew the hearts to the centre of each body, then stitch the faces using two strands of embroidery floss.
5. Lay the front pieces down so they are on top of the corresponding back cut outs. Make sure the arms are sandwiched between and oversew around the edges, leaving a gap for the filling.
6. Add fibre filling inside, but don’t stuff the ears. Finish sewing the pieces together and trim away any stray ends of thread.