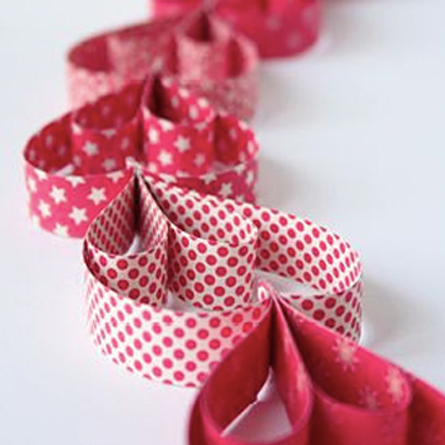
What better way to surprise your Mum this Mother’s Day than with a special home-made rose bouquet. We will show you how to create a gorgeous paper rose which you can either hand deliver to her on her breakfast tray when you treat her to breakfast in bed, or present in a vase with a selection of home crafted paper flowers. Either way, we are sure she will love the effort you made.

You will need:
- Balloon stick, skewer or quilling tool (for curling the paper around)
- Glue stick
- Glue gun and cartridges
- Paper straw
- 3 x squares of paper (the same colour), measuring 10cm x 10cm
- Sheet of green paper (for the leaves)
- Green pipe cleaner (for the stem)
One sheet of A4 paper should be enough to make two roses
Instructions:
- Take each of your three pieces of paper and, one at a time, fold each one diagonally
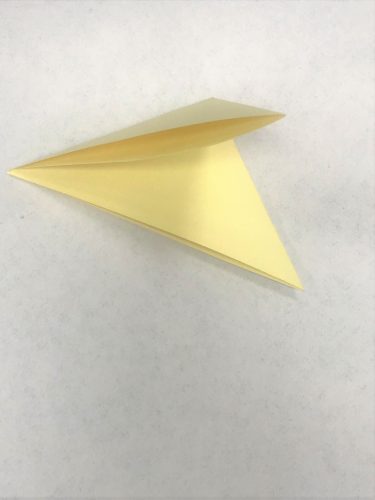
- Now fold each one diagonally for a second time (as below)

- Next, take your scissors and round off the corners (ensure you do not cut the folded side). Repeat with all three folded pieces of paper
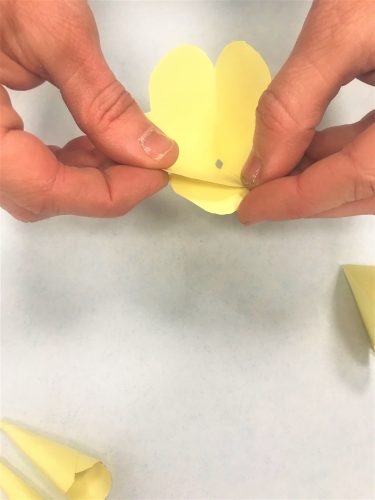
- Now snip off a small piece from the pointed end of each folded piece of paper. This will create a small hole in the centre of your flower when you open each folded piece of paper
- Open out each piece of paper, so you can see the creases. You will use these creases as a guide to cut out the petals
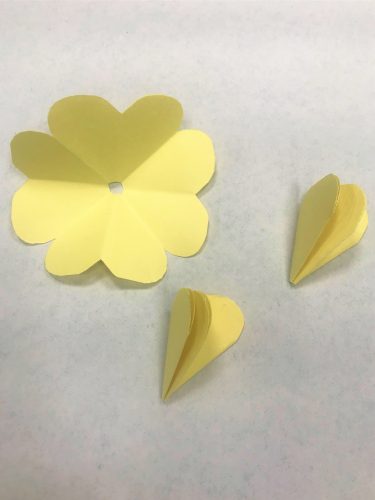
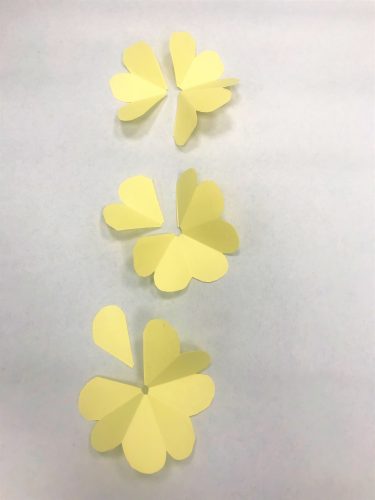
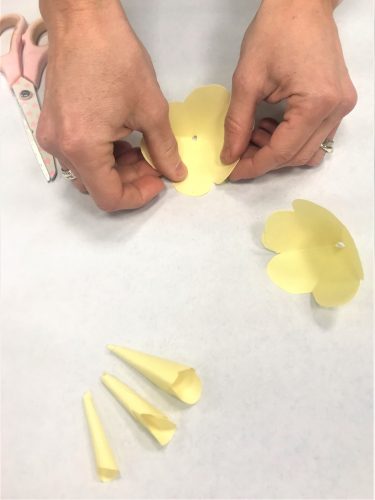
- Using the folds as a cutter guide, cut out one petal from your first piece of paper, then two petals from your second, three petals from your last piece of paper – so you are left with an arrangement similar to ours below
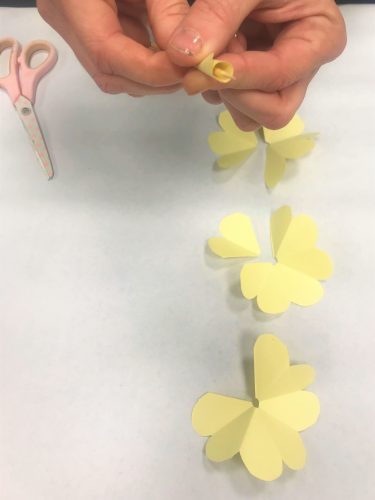
- Now start creating your flower starting from the middle
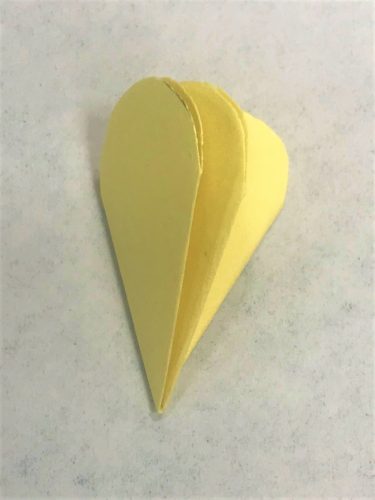
- Starting with your single petal, curl it around your skewer or balloon stick until the paper begins to curl
- Once it is shaped into a tight cone shape, glue it together so the shape is maintained
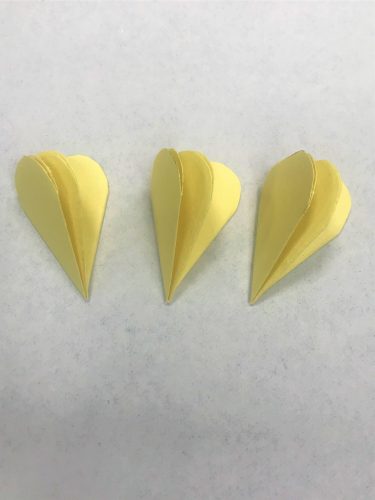
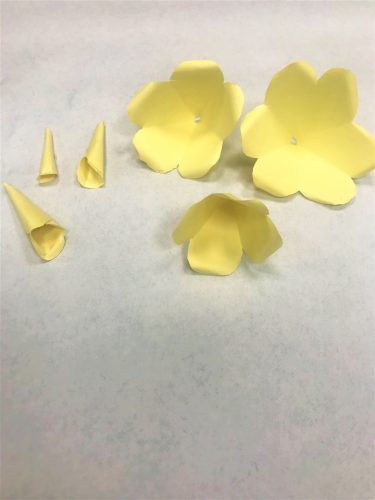
- Now repeat this process with your two and three petal cut outs so you have cone-shaped pieces in increasing sizes (as below)
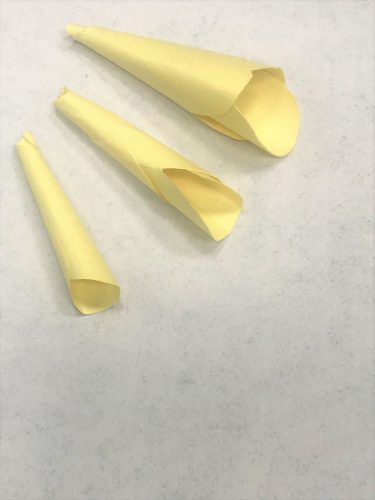
- Next, take your four petal piece of paper and curl it round and glue one side to the other. These larger petal sections will form a wider flower shape
- Repeat this process with the remaining pieces so you have an arrangement of pieces similar to ours below
- To make your flowers look more authentic, gently curl the edge of each of the larger petals so they bend outwards slightly. You will see the effect of this process in the flowers below
- Take your smallest flower part and (using the glue gun), apply a dab of glue to the bottom of the flower. This can then be inserted into the next largest flower part and pushed down until it sticks. To make your rose look more realistic, ensure you arrange the sections in a non-uniform way, so the petals do not line up
- Now repeat the above process by applying glue to the bottom of your next largest section before inserting this into the section the next size up
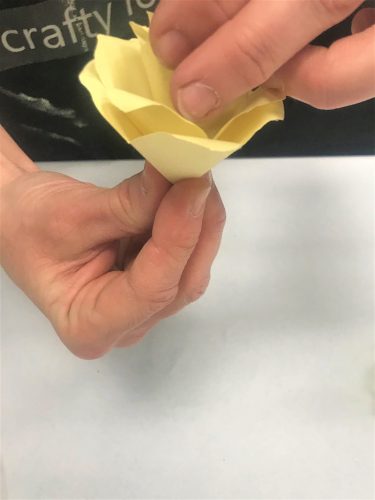
- You should be building your rose from smallest part to the largest by inserting one section into the other, increasing in size as you layer the flower from the bottom
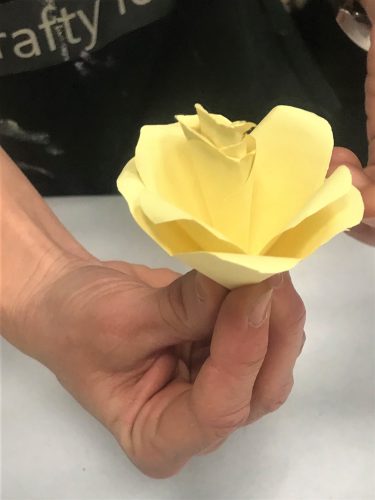
- Once you have glued all your pieces together, set the flower to one side to dry so that you can create the leaves
- Next take your green paper and cut it into three strips measuring approx. 5cm x 8cm
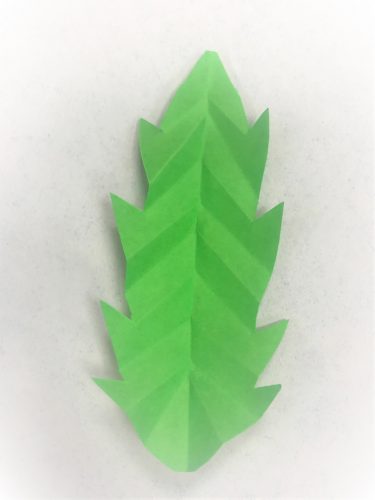
- Fold these strips in half (length ways) and draw a leaf shape along the fold of each piece of paper (as shown below)
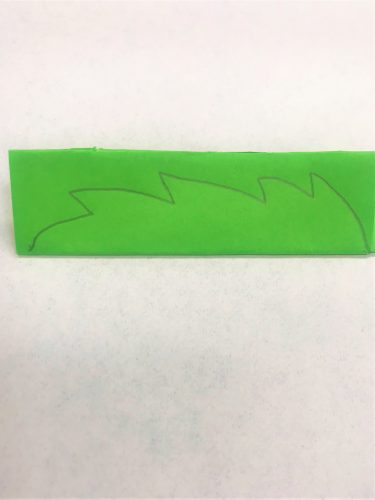
- Cut the leaf shapes out
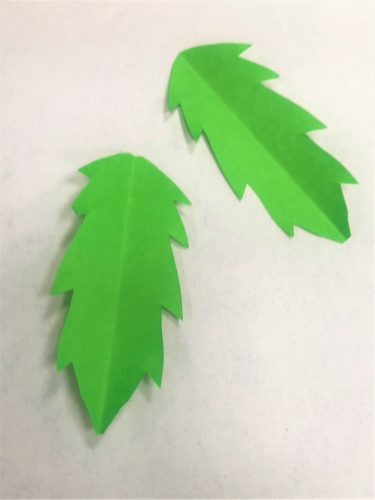
- To make the leaves look more authentic, take each leaf (one at a time) and re-fold along the crease that is already in place
- Now concertina fold the paper diagonally along the length of the leaf (as shown below)
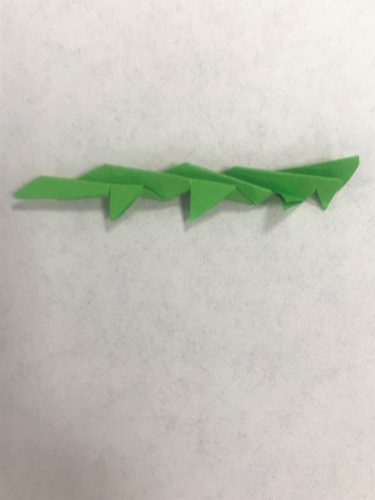
- Now unfold each leaf
- This should have created some realistic-looking ridges across the width of your leaf
- Using your glue gun, fix each leaf to the base of your flower head
- The rounded end of each leaf is the part that would naturally cup the base of your flower
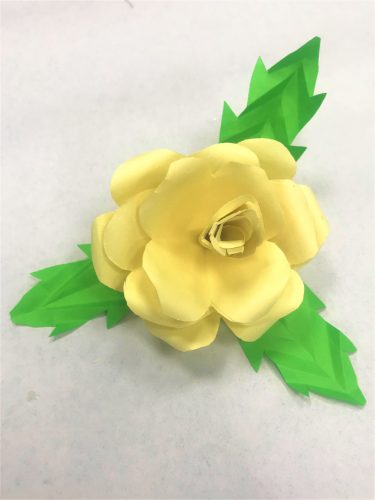
- Finally, using your glue gun, attach your rose to your chosen stem. You can use a paper straw, balloon stick or pipe cleaner for this
- Now, why not make an assorted colour bouquet by using different coloured paper?
- For some extra sparkle, try adding some glitter to your roses
Check out our gorgeous vase – perfect for presenting your Mother’s Day flower arrangement