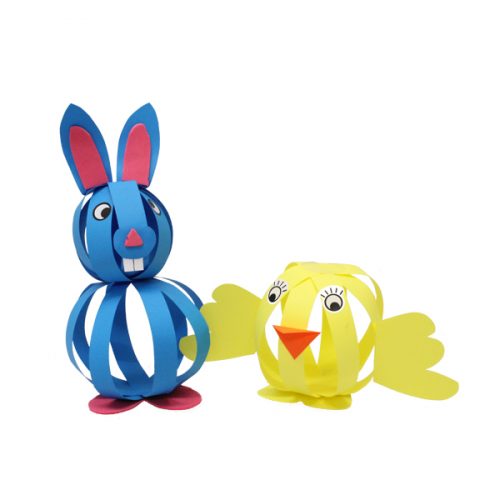
How’s this for an inexpensive Easter craft for the kids? Fun and simple to make – your kids will love creating their own Easter animals using strips of paper and googly eyes.
You will need:
For the chick:
- Googly or stick on eyes
- Feathers
- Scissors
- Glue stick
- Pencil
- Ruler
- Paper (2 x sheets of yellow)
- A small piece of orange paper
- Sellotape
For the bunny:
- Googly or stick on eyes
- White pom pom for the tail
- Scissors
- Glue stick
- Pencil
- Ruler
- Blue paper x 2 sheets
- Small sheet of pink paper, card or foam (for inside the ears, nose and feet)
- Small piece of white paper (for the teeth)
Instructions:
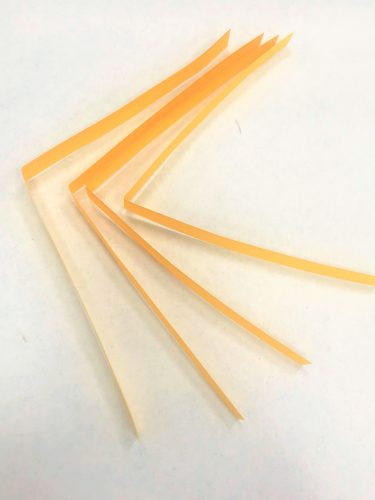
- Cut 4 x strips of paper into lengths of approx. 30cm x 3cm in width
- Now fold these in half (as shown below)
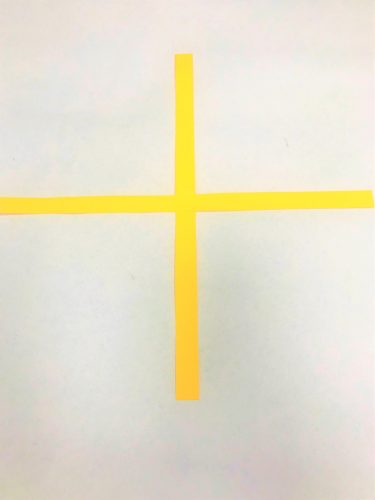
- Now take one of the strips and apply a dab of glue in the middle where you have made your crease. Next, place a second strip of paper across this (to make a cross shape) and press the strips together so the glue sticks
- Now apply another dab of glue to the top crease and add a third strip of paper (again crossing this in the centre as below). Push the strips together to help them stick
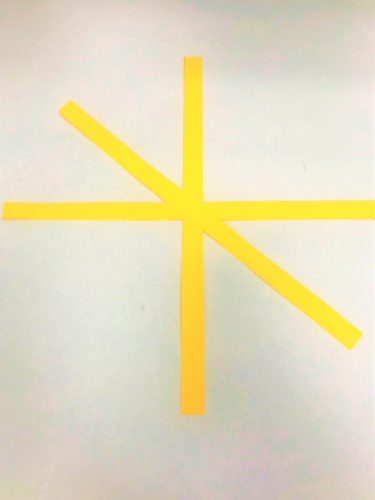
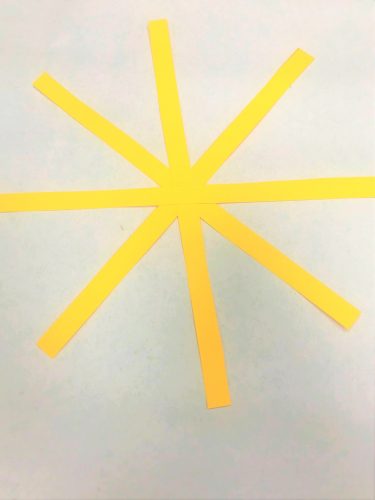
- Again, apply glue to the centre point and fix in place your final strip of paper so that you have a snowflake shape
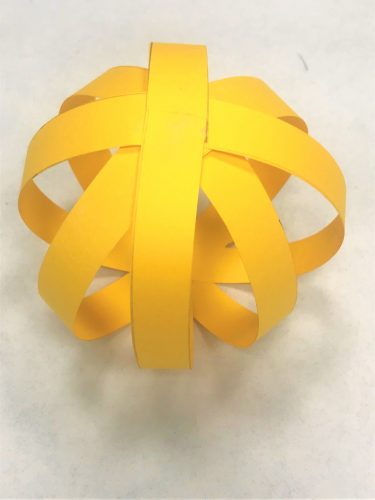
- Your strips should now resemble the image below
- Take the bottom strip of paper (the first one you placed down), and bend it over to meet the strip opposite. Now tape or glue these together to form a ring shape (as below)
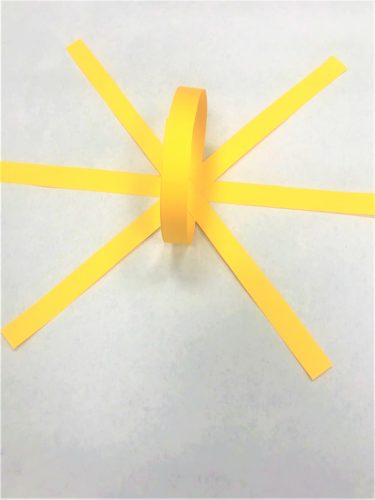
- Apply some glue to the centre of the ring and take the next strip you laid down from the bottom and loop this over and fix it to the top of the ring you have created (see below)
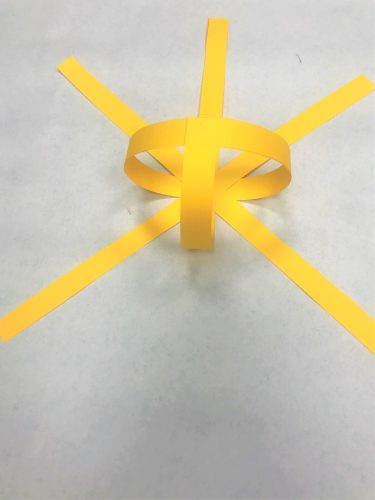
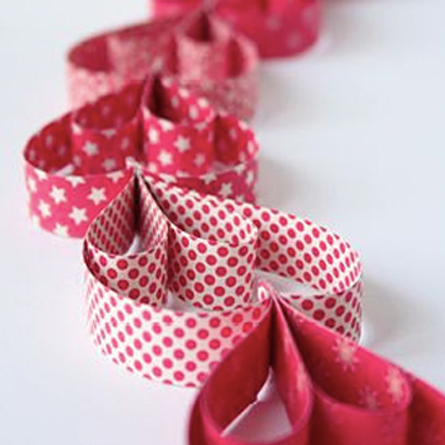
- Continue this process until all the paper strips are glued together and you are left with a paper ball similar to the one below
- Turn the paper ball over
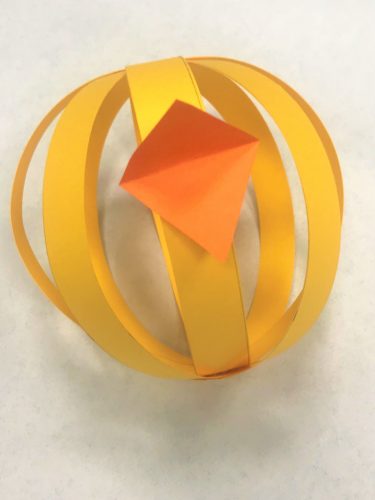
- Next, take your orange paper and fold this in half. Cut out a small triangle shape (approx. 3cm in length) and open this out so it forms a diamond shape. This will be your chick’s beak
- Glue the back of the orange paper and fix this to one of the strips of yellow paper (approximately half way down the strip)
- Now attach the googly or sticky eyes to the paper strips on either side, and just above the beak

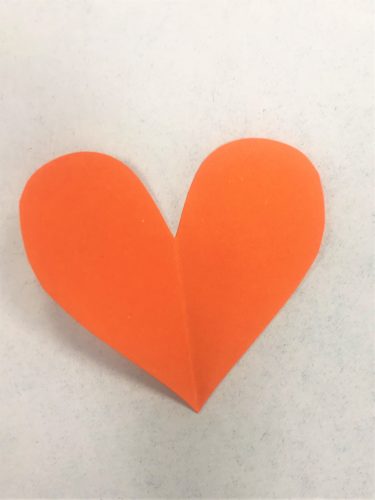
- Using your orange paper again, cut out a heart shape (approx. 7cm in width at its widest point). Glue this to the bottom of your chick. These will be the feet and will help steady your chick so it can stand up
- Now glue some yellow or orange feathers to the back of your chick for the tail feathers
- From your remaining yellow paper, cut a piece measuring approx. 6cm x 15cm. Fold this in half lengthways and draw a wing shape with your pencil (as below)
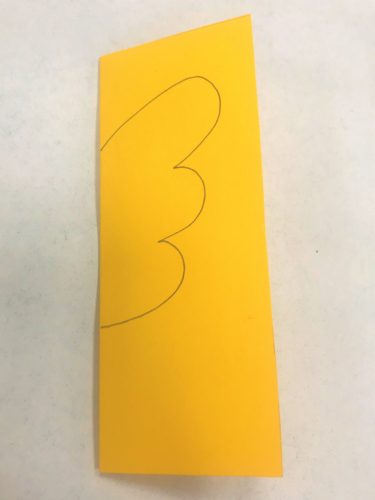
- Cut out the shape and cut along the fold so you have two wings
- Fold over the straight side of each wing by about 0.5cm
- Now glue the folded area and stick the wings to either side of your chick
- There you have it! A quick and easy Easter craft!
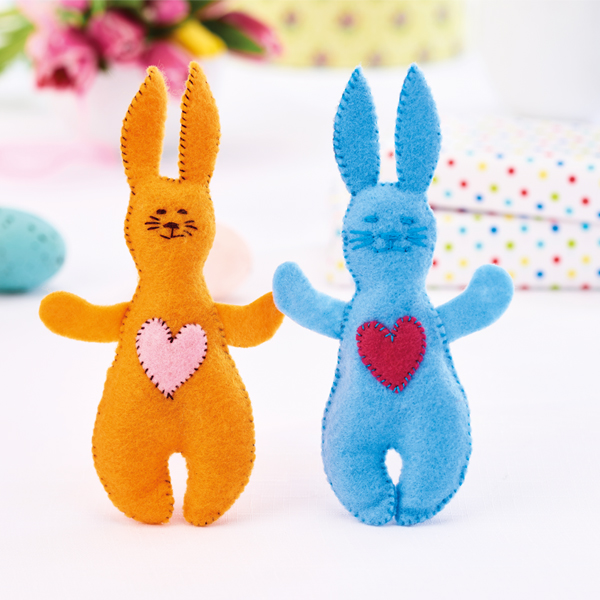
To make an Easter bunny:
- To make the Easter bunny, you need to follow the steps used to create the body for the Easter chick as your first stage. You then need to create a smaller paper ball for the head. We used strips of paper that were approx. 21cm in length and a similar width to the strips used for the body
- You will need to cut ears from the same paper you chose for your bunny’s body. Ours measured approx. 8cm and we glued these to our bunny’s head by folding a small flap over the straight side of each ear and applying glue to this
- We also used pink foam for inside the ears, the bunny’s feet and his nose but you can use pink felt, crepe or tissue paper
- Glue the white pom-pom to the back of the bunny’s body for his tail
- You can cut thin strips of black paper and glue these behind your bunny’s nose if you want to give him whiskers. This paper can be curled before being attached
Tip:
Due to the additional weight of the head and ears, your finished Easter bunny will not be as stable as the Easter chick. To remedy this and enable him to stand up, we recommend using a weightier material for his feet. You may also want to experiment with the size of your bunny’s feet to ensure you give him a wide enough base to stand on