It’s Fathers Day on 19th June 2016! As well as our fantastic craft project turning decorative photo frames into personalised presents for Dad this year – which you can check out here – we’ve also got a very simple but very effective way of making your own Fathers Day cards.
As with the frames project, we teamed up with local crafting expert Michelle from The Crafty Foxes and come up with a great Fathers Day card for you to make!
Below is a step-by-step guide on what you need to do, focusing in particular on the origami shirt as this is the most complicated bit of this Fathers Day make. But it’s not overly complicated, so read on and get ready to make your very own Fathers Day cards…
Here’s what you should end up, or a version of this:
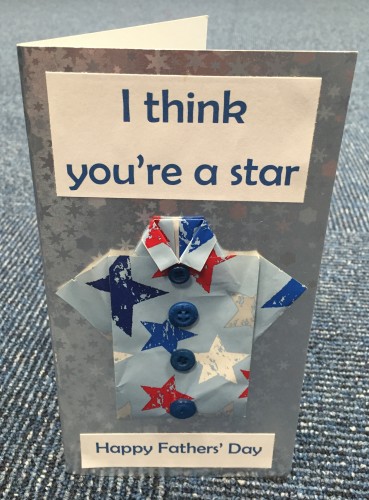
We say a version of this, simply because we made this in a hurry, so the shirt is a bit creased! When it comes to making your own Fathers Day cards, you can choose whatever colour card and font you want to use, plus you can use any type of paper for the shirt to reflect Dad’s personality! Feel free to change up the messages too on the front of the card…
In the guide below, we’ve used leopard print crepe paper, from our Safari Crepe paper bundle, because its fun!
Cut out a rectangle from your chosen paper type, to measure 13cm x 21cm:
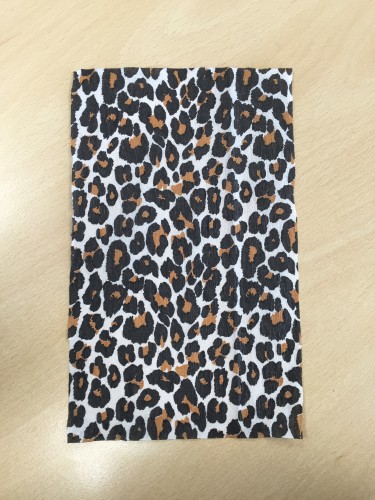
Once you’ve done that, fold the paper in half lengthways:
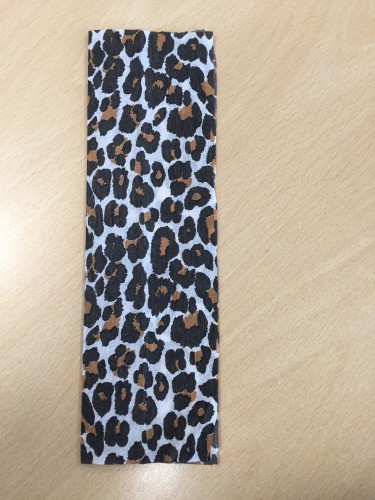
Turn the paper over and fold each half in half again, still going lengthways:
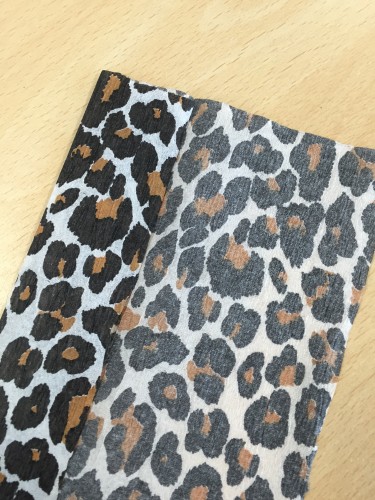
Your sheet should now look like this:
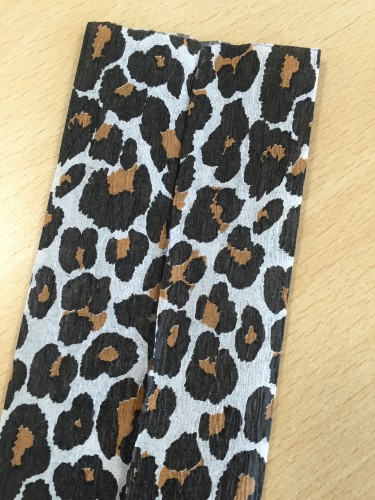
Turn the paper over once more once that’s been done and fold the top down towards you. Fold approximately 1cm down:
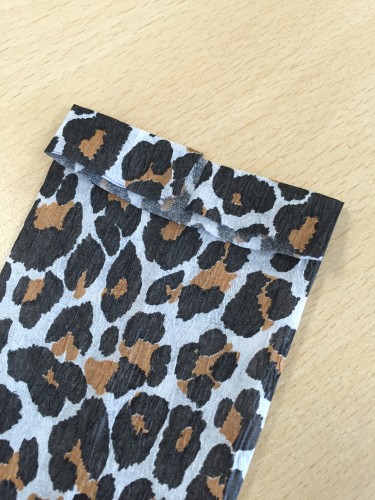
Turn the paper over again and bend in the corners towards the middle crease as shown below (this forms the collar of the shirt):
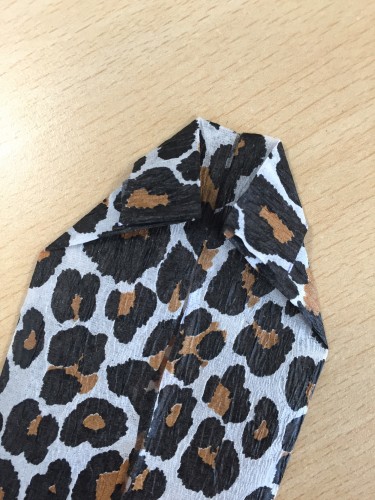
Once you’ve done that on both sides, fold the bottom up and tuck it underneath the collar:
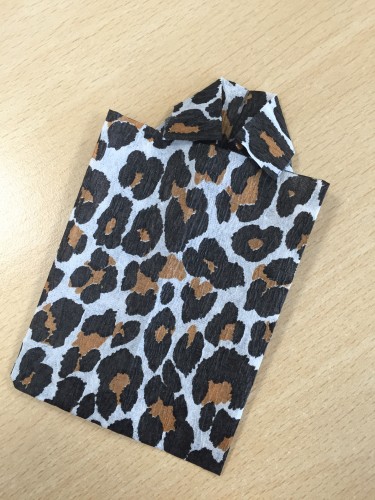
You’re almost there! Next step is to unfold the bottom section (effectively undoing the above step) and then using the newly creased middle as a guide, fold out the sheet from the middle to the bottom outside corners (this is to make the sleeves). The picture below explains this a bit better:
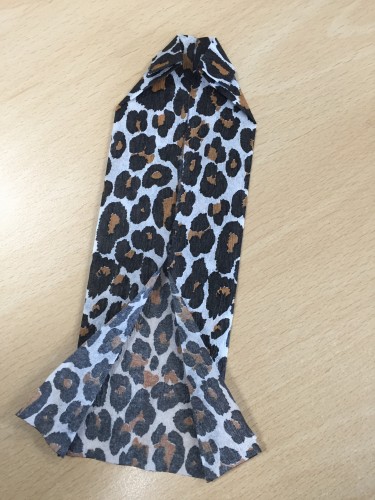
Then the penultimate stage is to fold it back up so the bottom half is tucked underneath the collars (same as two steps ago but this time the sleeves will be prominent):
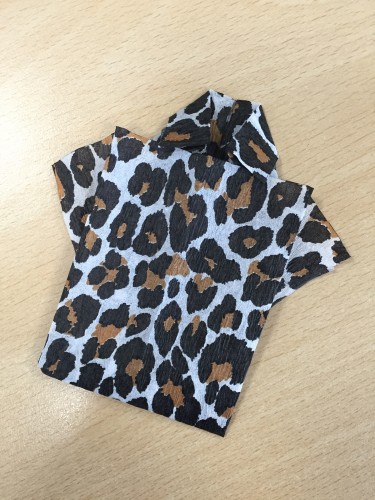
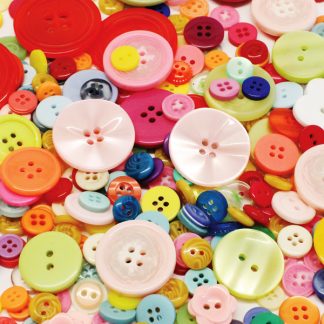
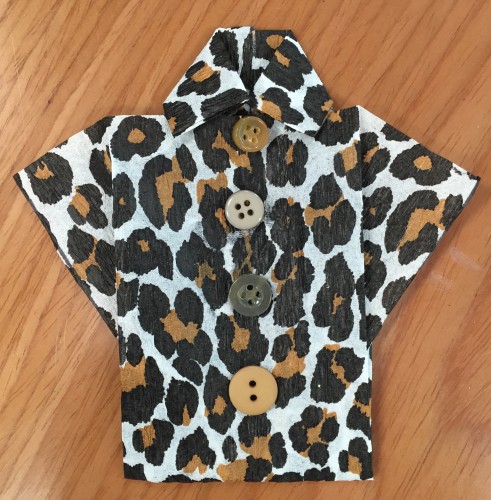
And then all that’s left is to add buttons! We’ve taken these from our assorted pack and then glued them in the middle of the shirt to end up with this finished origami shirt:
Once you’ve done all of the above steps and have got your shirt drying, the next thing to sort out is the card itself. You can source your own card locally or use our pack of two-fold cards. Decide on what messages you want to say on the front – in this instance we’ve gone for ‘I Think You’re a Star’ and ‘Happy Father’s Day’ – but it’s entirely up to you if you choose something different or not. Once you’ve decided, either print or handwrite your message onto white or coloured paper which can then be cut out and stuck onto the card. Don’t forget to leave space for your shirt! If you need some inspiration on the wording, check out other Fathers Day cards online or in your local shops.
When the glue for the buttons has dried, you can stick the shirt onto the card too!
Remember, you can make your shirt out of what ever paper you wish to! Pick something that’s relevant to your Dad and it will just go to show how much thought you’ve put in to this! If you’re feeling adventurous you can even try and make a football shirt. This green one, although not complete with buttons as yet, just goes to show any paper will work!
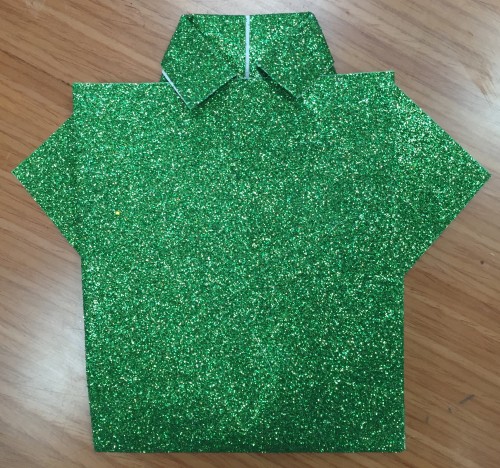
Particularly good is wrapping paper, which is similar to what we’ve used on our card. Here’s a reminder of the finished card:

And that’s it!! Handmade Fathers Day cards just for Dad! He’ll cherish it, you’ll feel good having made it yourself, and it’s totally unique!
Happy Fathers Day to all the Dads out there!
Until next time, keep crafting!!
The Bright Ideas Team & Michelle from The Crafty Foxes x
