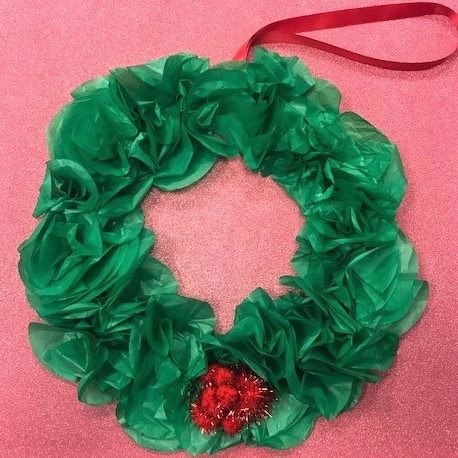
What better way to welcome guests to your home this year than with this delightful tissue paper Christmas wreath? It’s inexpensive, easy to make and will look sweet hanging on a door or in a window of your home. It’s also a fun activity to do with the kids who will have heaps of fun personalising theirs with ribbons, sparkles, feathers, and pom poms.
You will need:
- Cardboard (an old flattened cardboard box will do)
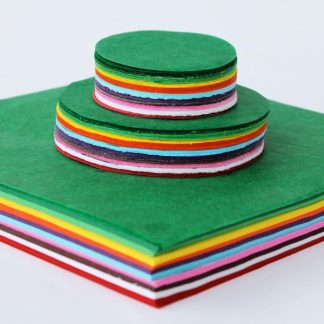
- Green tissue paper cut into circles
- PVA glue
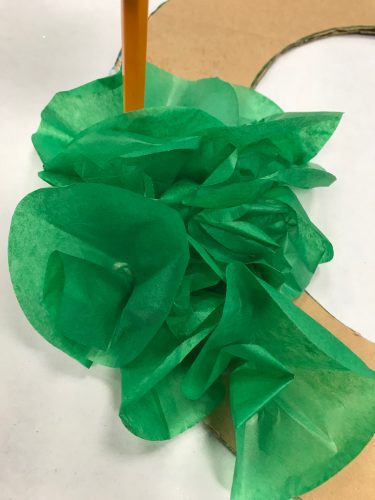
- Pencil with a rubber on the end
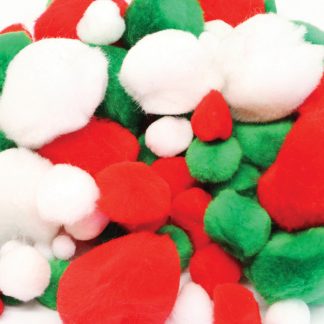
- Red pom poms or metallic gift bows
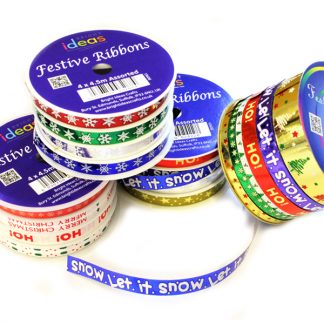
- Length of ribbon
Instructions:
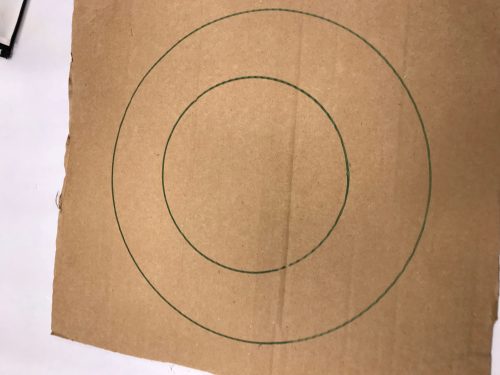
- Draw a large circle onto your flattened cardboard using a large dinner plate and cut it out.
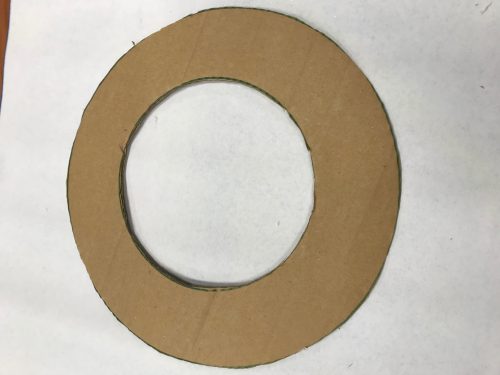
- Using a smaller (side) plate, draw a smaller circle inside your large circle and cut out the inside area so you are left with a loop.
- Separate your green tissue paper circles so they are easier to work with when you begin gluing them onto your wreath.
- Apply PVA glue to a section of your wreath.
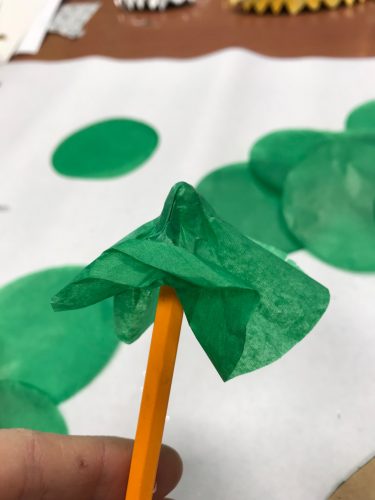
- Take one of your tissue circles and scrunch it around the eraser end of your pencil to form a leaf shape. Now press this onto the glued section of your wreath.
- Continue this process until all the cardboard is covered.
- Once the tissue paper has dried, fix a collection of red pom poms to your wreath to replicate red berries.
- Form your red ribbon into a loop and fix this to the back of your wreath so you can hang your completed design.
Variation:
- Why not seize on the current trend for a colourful Central American Christmas and use pinks, blues, mint and teal colours on your wreath? Add some extra fun and texture by using our vibrant range of feathers and ribbons too!