We have been inspired this Halloween to create this cute and also scary spider ring.
We had so much fun making this spider ring and this is a project you can do over and over in many different colours; especially with our variety of chenille stems.
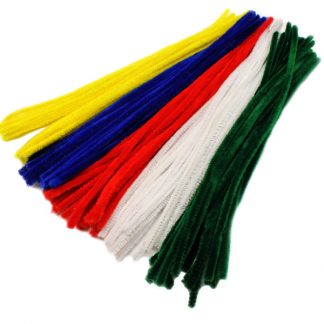
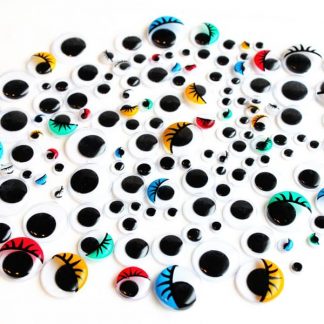
For this project we used smaller chenille stems, black pom poms and wiggle eyes (and PVA glue)
Step 1) 
Get all the materials out you will need. We used a medium sized pom pom and a smaller one and 5 black chenille stems. We also used 2 wiggle eyes and PVA glue however you can use hot glue if you wish. We decided to create a small ring for a toddler however if you wanted to create a larger ring you could use the longer chenille stems with the exact same method below
Step 2)
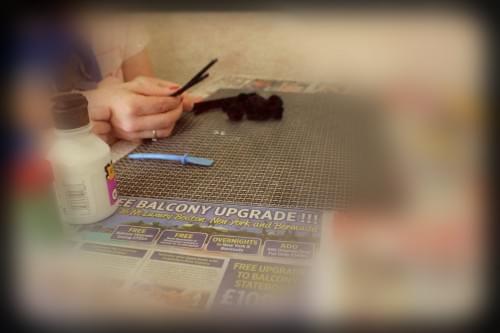
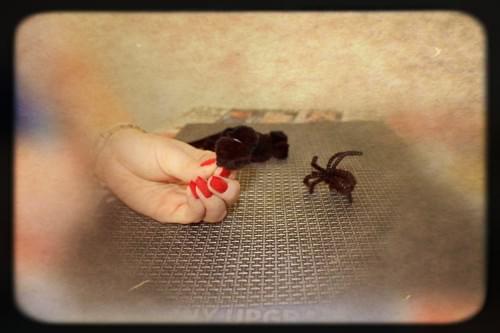
Take 4 out of your 5 stems
Step 3)

Fold the chenille stems in half (as equal as possible) these will make the spiders legs.
Step 4)
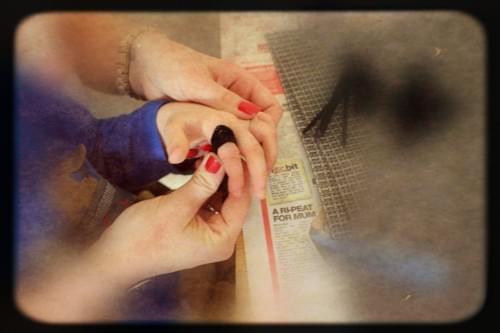
Once folded bend around a finger to ensure the correct sizing.
Step 5)
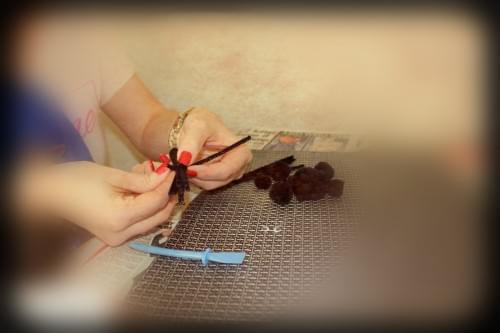
Take your 5th stem and wrap this around the place you want your ring to start (this will also be used as the base for the spider body)
Step 6)

Bend the end of the chenille stems to look like spiders legs (4 on each side)
Step 7)
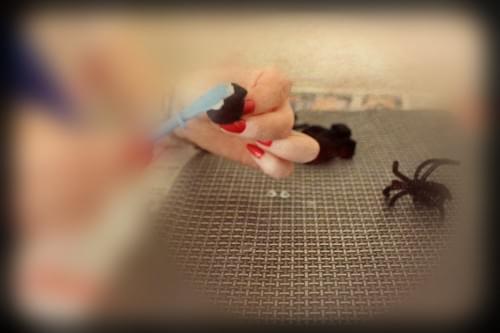
Then take the medium sized pom pom and stick it to the smaller one to create the head and body of the spider
Step 8)
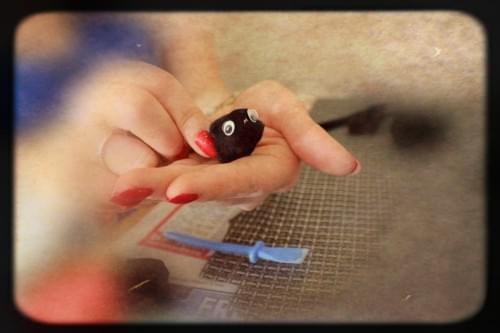

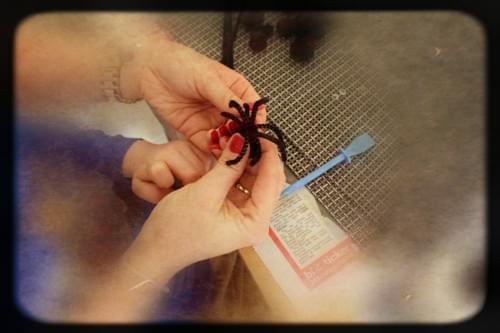
Once you have stuck the head and body on then move onto the eyes; then using the glue fix the body to the legs you made earlier.
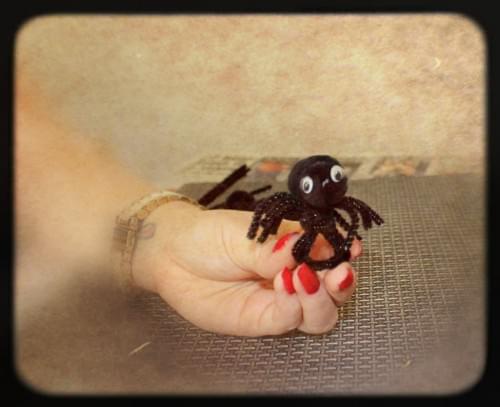
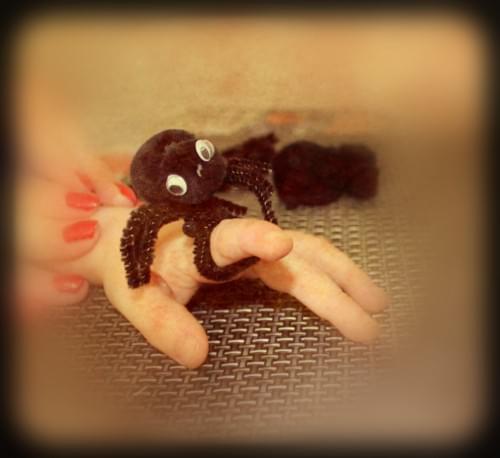
There you have it- A completed spider ring ready to creep and crawl onto your finger
 ]
]
We hope you enjoyed this Halloween tutorial.
Until next time- Stay Creative.
The Bright Ideas Team x