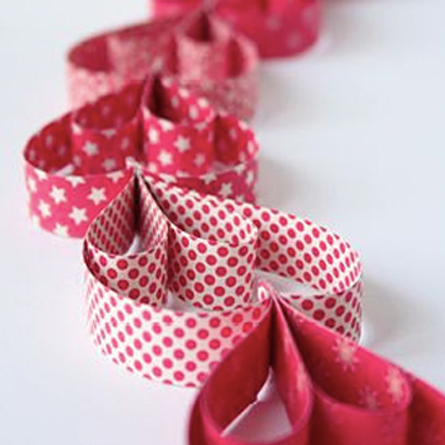
There are so many ways you can create these gorgeous 3D Glitter letters whether you’re really crafty or not.
We love this how to create paper mache letters from cereal boxes by Green Zebra Crafts and what’s better all you need to complete this look is newspaper and glue!
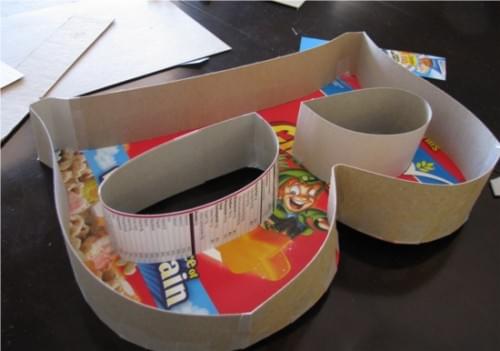
Or if you prefer you can buy ready-made lettering from many craft shops or even ebay it all depends on how crafty you would like to be.

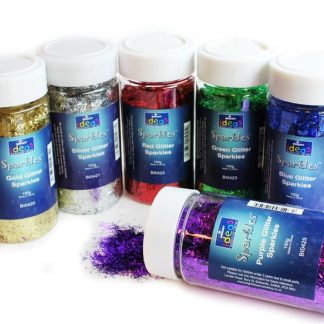
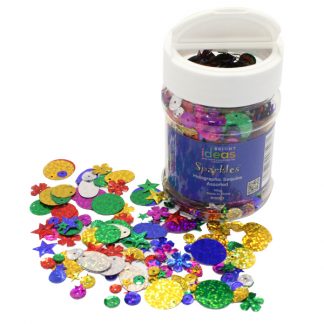
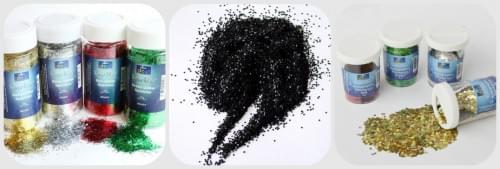
Finally the fun part GLITTER- We recommend our stunning Hexagon Glitter because of its dimensions it really catches the light and makes a great talking point but you can chose from anything you like (take a look at our full range of glitters here)
And here is what you do next;
We recommend a good spray with a solid colour before you go wild with the glitter; we have gold or silver that would be perfect for this job.
1) Spray the entire letter with the spray (or paint if you prefer) ensuring all the edges are covered.
2) Leave to dry and then apply a second coat.
3) Once the second coat is dry place the letters on top of some old paper so you can ensure you catch excess glitter TIP- This excess glitter can then be used again
4) Concentrating on one letter at a time cover the letter in PVA glue (we suggest a small amount and then using a foam brush to spread it out or you can use your fingers)
5) Tap off any excess glitter and add more glue and glitter in the spots that were missed or too thin.
6) Leave your letters to dry overnight.
7) Finally to ensure the glitter stays where it is, once your glitter letters are completely dry, spray them with a generous layer of hairspray. This will act as a glue and keep the glitter from falling off everywhere.
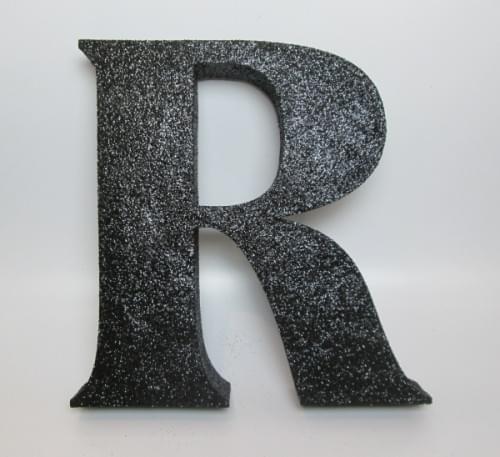
And there you have a beautiful glitter letter ready for whatever occasion you need them for. This Idea makes a great school craft project or even something novice crafters can try at home.
We hope you enjoyed this tutorial on 3D glitter letters.
Until next time- Stay Creative
The Bright Ideas Team x
