As the kids go back to school we’ve worked with our resident crafting expert Michelle from The Crafty Foxes to bring you some simple but very effective makes to celebrate the start of the new term!
The steps below take you through 4 different ideas, none of which are overly complicated and they’re all ideas you can do in the classroom, with as many or as few children as you like. Plus they’re cost effective which we know is important!
At the end of this page you’ll see our suggested items but in all likelihood you’ll have lots of these items already in your supplies cupboard so you can save money by using existing materials and variations on what we’ve used below.
So without any further ado, let’s take you through our back to school ideas. We’re making a Four Seasons picture, perfect to take home, calendar blank with handprints and a personalised message, a fun frame to use in the classroom to commemorate the first few days back to school and last but by no means least, some pipe cleaner snake pencil toppers.
Four Seasons Calendar Tabs:
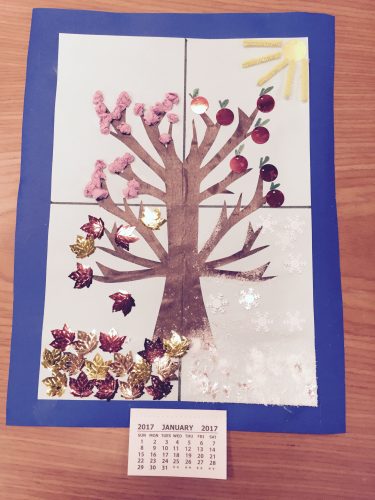
This is a really great project to teach your class and children about the different seasons…. it’s simple but very effective! Here’s what we’re aiming for:
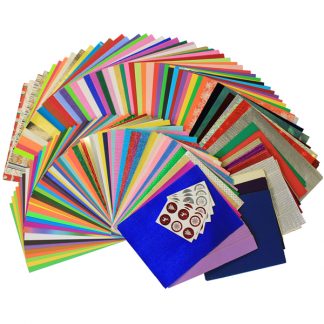
Firstly, take a sheet of brown paper. We’ve rummaged through our craft paper assortment for all of the paper used here today, but you can use any paper you’ve got to hand. Cut your sheet so it’s A5 in size:
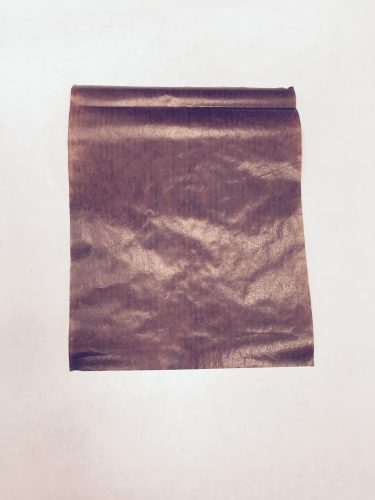
And then fold it in half length ways:
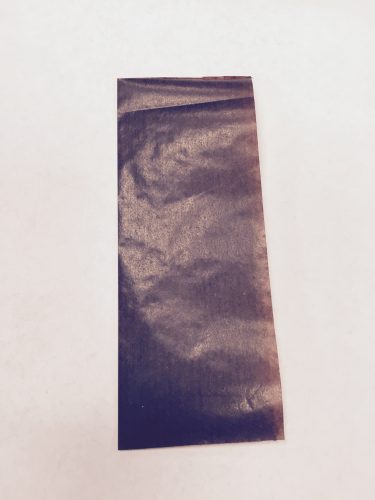
Next, you need to draw the outline of half a tree right up to the crease line. If you’re struggling with the freehand tree-drawing, there may be some images you can get from the internet to trace around:
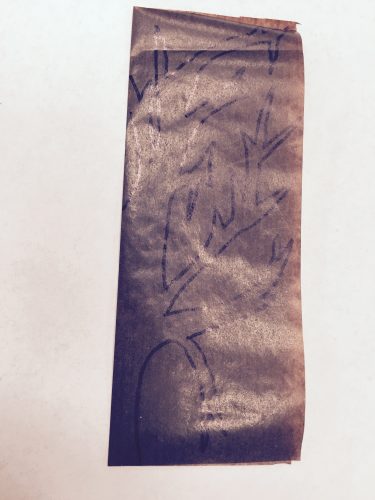
Once that’s been done, keep the paper folded and cut out the tree shape. Then using a glue stick, stick this tree to a sheet of A4 paper. It’s worth noting that by this stage you should have also drawn even lines onto your base sheet of paper as shown in the image below (these will allow you to create the four seasons and to stick the tree down straight!):
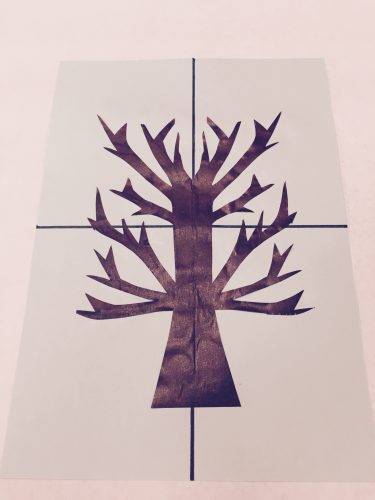
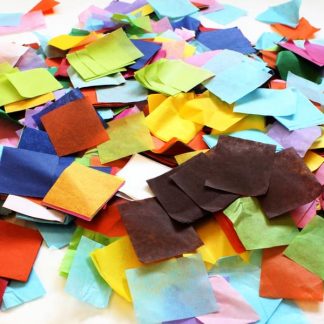
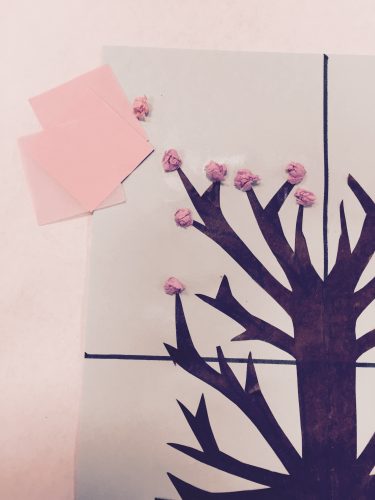
Then we move onto creating the actual seasons… for Spring screw up small pieces of tissue paper and stick them to the ends of the branches using your glue stick. We’ve used our tissue paper off-cuts here but any small squares or circles of tissue paper will work:
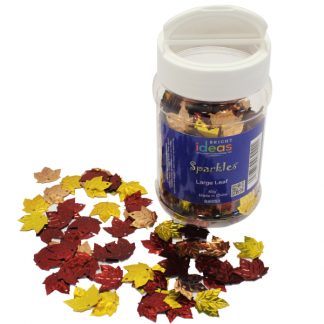
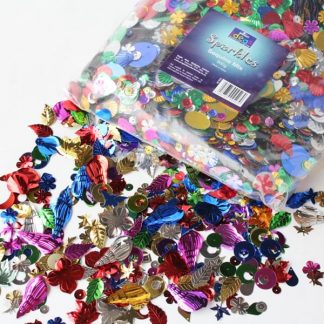
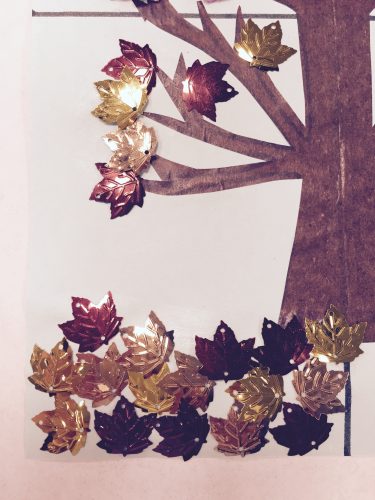
For Autumn, we took some of the assorted large leaf confetti sparkles and glued them to the ends of the branches and some on the ground to represent falling Autumn leaves:
Winter means snow so place a small amount of PVA glue on the bottom of this rectangle and along some of the branches:
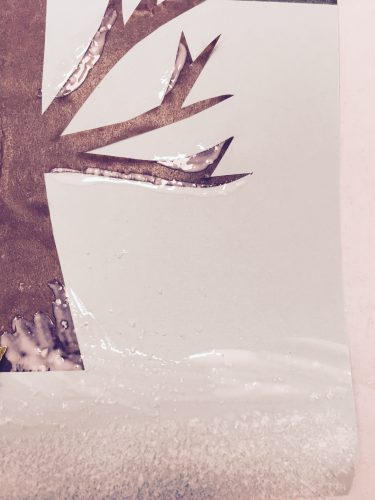
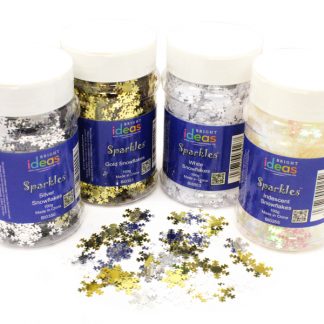
Then shake some fake snow over the area and tap the sheet against the table to remove any excess snow. We’ve also used some white snowflakes here but these are entirely optional.
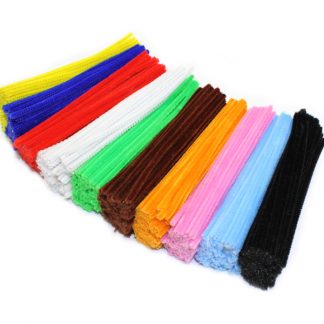
Finally, for summer, start by making a sun in the top right hand corner of the sheet. Using our sequins pack, we took a large gold disc, glued it down and used one yellow pipe cleaner (cut down into 5 pieces) to create the rays. Using the same sequins pack we then stuck red circle sequins to the ends of the branches to represent apples, before finally drawing some leaves onto the apples using a green felt tip pen.
There are just two more steps now… firstly take an oversized sheet of paper and mount your four seasons creation onto it. We used a piece of blue poster paper but you can use anything you wish, including A3 sheets of paper or sugar paper.
And finally, take one of our small calendar tabs and stick this to the very bottom of your seasonal work of art and you’re done! Here’s a reminder of how the finished piece should look:

Calendar Blanks Handprints
This one is so simple! And it will be used all year round, not just for back to school, so it’s well worth the minimal effort!
To begin, take an A4 calendar blank and using a sponge, apply some pink paint (or any other flower-coloured paint) to your child’s palms. Then press their hands down firmly onto the blank section of the calendar blank in the area shown below. Please note that in our picture we’ve cut out the hand shapes, simply because at the time of making this our child model was unavailable!
You can either use paint or cut out hand shapes on pretty paper – it’s entirely up to you!
Once you’ve got the hand images in place, take a green felt tip pen to draw on some stems and grass as seen below:
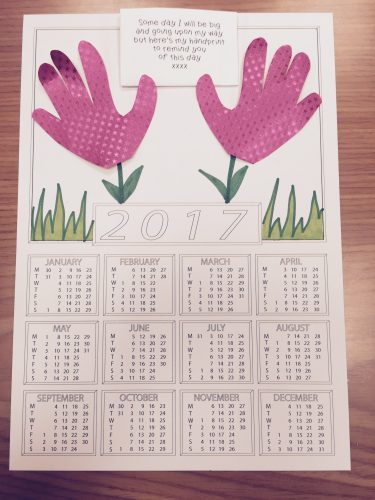
To finish, we added a small poem at the top, just for Mum & Dad’s benefit! And that’s it, your calendar blank is no longer blank and can be proudly displayed either at home or around the classroom!
First Day at School Frame:
A really simple back to school idea here, and a way for all of you teachers to commemorate the little ones’ first day in your class! Plus it uses materials you’ve probably already got in the school so it’s cost effective!
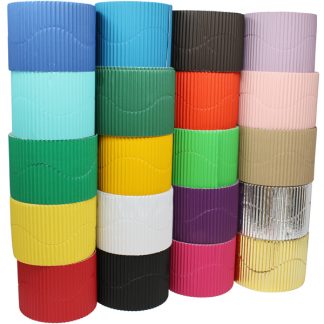
Using corrugated border rolls, cut out two strips measuring approximately 60cm long, and another two strips measuring 40cm long:
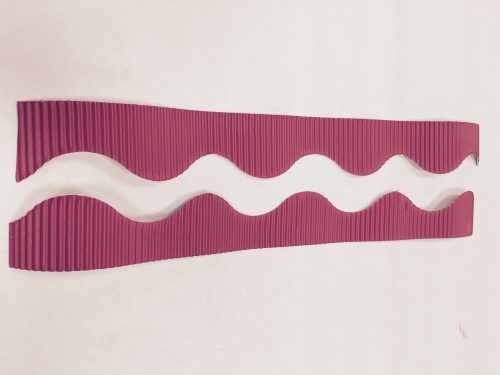
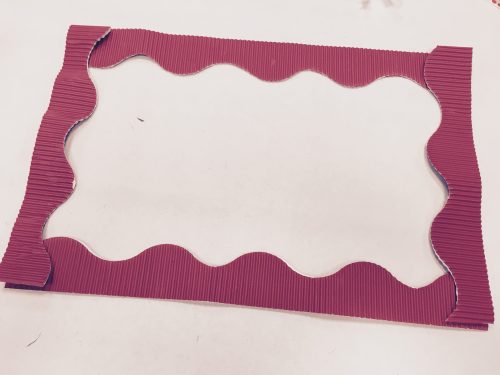
Take a glue gun or use double-sided tape to stick the four strips together at the corners. This will become your frame. We used staples in each corner too for added stability:
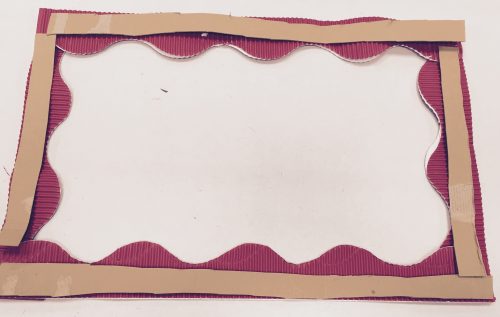
If you’re using this in the classroom (as opposed to at home) then it will need to be rigid to cope with all the little hands picking it up! Using some firm cardboard – a corrugated cardboard box should do the trick – cut out four strips and stick these to the reverse of the frame:
When that’s all dry, turn it over, cut out some letters and stick them to the border rolls to end up with something like this:
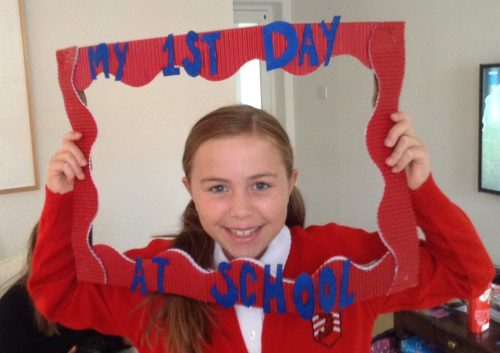
You can use any message on here – it doesn’t need to just be for the first days back at school.
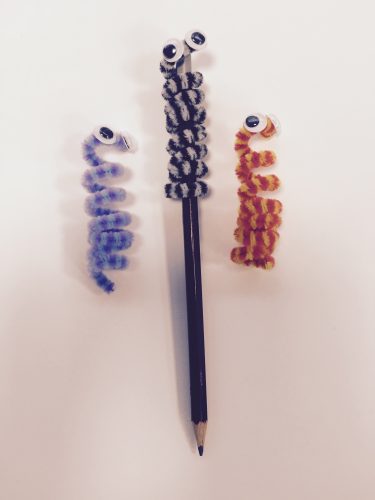
Pipe Cleaner Snake Pencil Toppers:
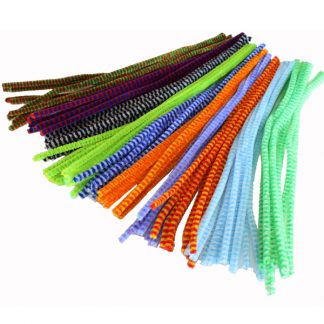
A really easy one to finish on here! To get started, pick out some colourful pipe cleaners, or chenille stems if you prefer. We’ve used our stripy ones:
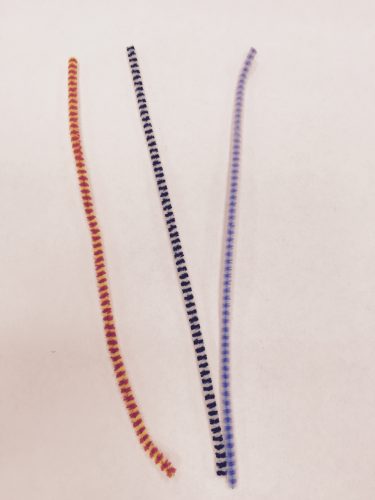
Then take a pencil and wrap one of the pipe cleaners tightly around the pencil to create a spiral shape:
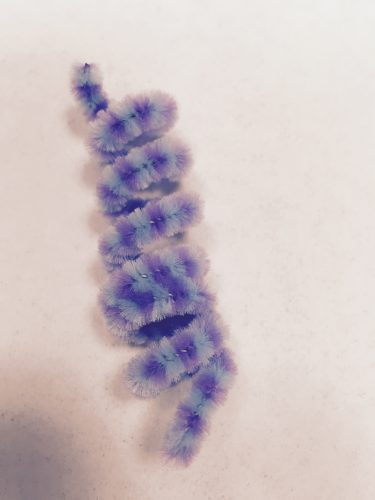
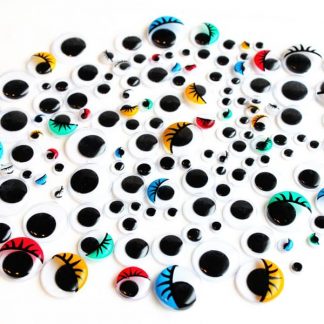
Once you’ve got the basic shapes, take either a glue gun or your PVA glue and a couple of wiggly eyes. Glue two eyes to the end of your pipe cleaner and repeat for each stem you’ve now got:
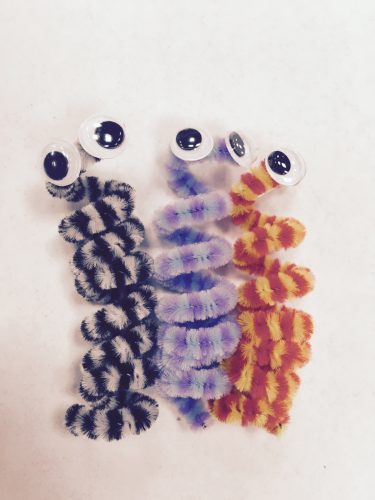
Slide back onto your pen or pencil and admire your simple but effective creation! They’re dead easy to make, cheap and kids will love them!
And that’s it!! Your back to school crafts session is complete and you’ve got all the steps needed to make some special items to mark the start of the new school year! Don’t forget to send us any images of your own creations – we’d love to see your take on these back to school ideas!
Until next time, keep crafting!!
The Bright Ideas Team & Michelle from The Crafty Foxes x
