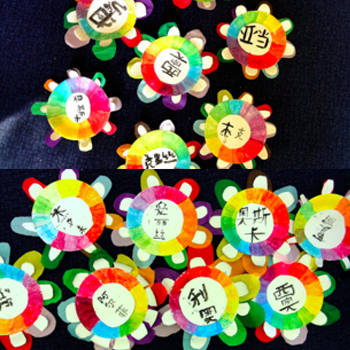
Chinese paper lanterns
Level: Easy
This year a super easy make is taking classrooms everywhere by storm. Chinese paper lanterns have been a traditional make for generations, they are so simple and straightforward to make and they create fantastic displays for the classroom to cheer up your displays after Christmas.
What you need:
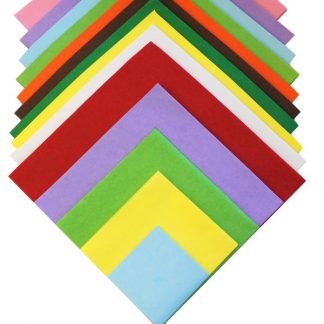
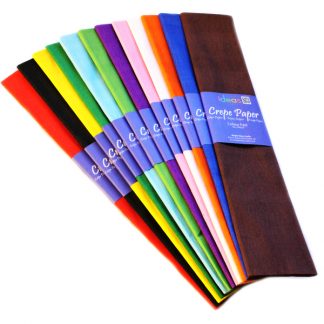
- Coloured Paper
- Scissors
- Pencil and Ruler
- Glue or sticky tape
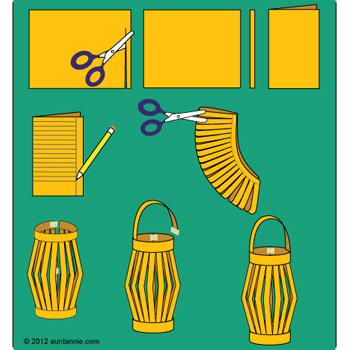
Image from: http://www.auntannie.com/PartyDecorations/ChineseLantern/
1 – With your ruler and pencil measure a length of about 2cm from your sheet of chosen paper, then cut this 2cm strip off to make a handle.
2 – Next fold your sheet of paper in half and measure 2cm strips on one side of the folded paper, mark these down as a guide of where you will cut in a minute. Make sure you leave a good sized gap at the open edge of the sheet of paper to join your lantern together.
3 – Start cutting along these lines making sure that you leave that important gap at the open end of your paper.
4 – Then you can unfold your sheet of paper and glue down one side or stick with sticky tape. Attach the two open ends of your paper together to create a cylinder, this is your lantern!
5 – All that is left to do is attach your handle, stick with glue or tape on the inside of your cylinder shaper. You can then hang these around the classroom to create a great Chinese New Year display.
You could even add an additional sheet of paper to create a lantern with another colour on the inside, use yellows or orange to make it look like the lantern is alight. Remember red is a lucky colour in China so red paper makes a really authentic lantern.
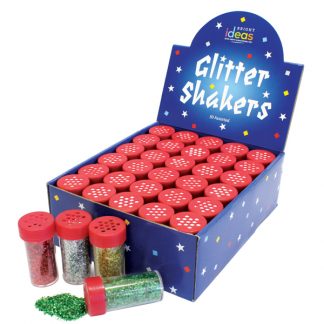
Decorate with glitter or even some Chinese symbols, search online for some easy characters for the children to copy.
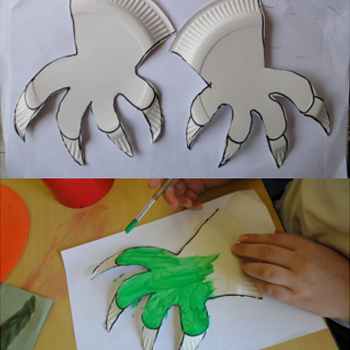
Chinese Dragon
Level: Medium
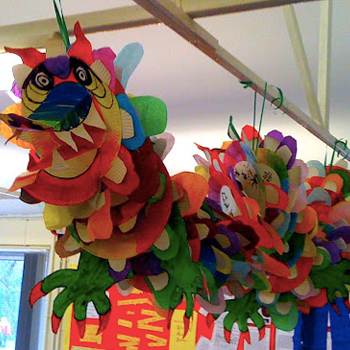
Image from: http://arteascuola.com/2013/03/collaborative-dragon/
Create this Chinese Dragon as a group project, the threading together might be something the teacher needs to do, but making each individual plate is a great task each student can enjoy. Then this superb Chinese New year dragon can be hung up in the classroom to celebrate the new year!
You will need:
Body:
- Paper plates
- String
- Straws
Decoration:
1 – ‘Dish’ out your paper plates to everyone in the class to decorate, this works best when plates are decorated around the edges so the adornments can be seen when the dragon is put together.

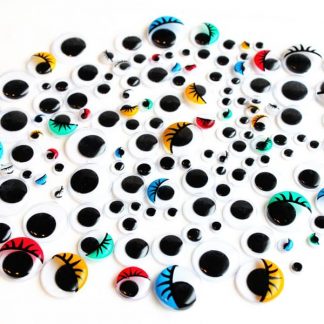
2 – In addition to the plates which make up the body of your dragon, you will also need some dragon feet which can also be cut from plates and painted. Also a dragon head is essential, a great way to do this is to take one plate and fold another plate in half and attach to your first paper plate to create a mouth. Decorate the face with teeth and googly eyes!
3 – String together your dragon! Do this by making a hole in each plate (this is best done by an adult) you can do this easily by pushing a sharp pencil through the plate into a bit of blu- tac on the other side.
4 – Using the string and lengths of straws thread your dragon together in a pattern remembering to include the feet as you go along.
5 – finish with the head of the dragon and conceal the end of the string in the dragon’s mouth.
6 – The final step is to add extra decorations, add in some lengths of crepe or tissue paper for a tail! The dragon can then be hung up as a fantastic decoration to celebrate the Chinese new year.
Paper fortune cookies
Level: Hard
You will need:
- Paper and a pen (to write your fortune with!)
- A CD, to draw around
- Some patterned or colourful papers
- Sticky tape
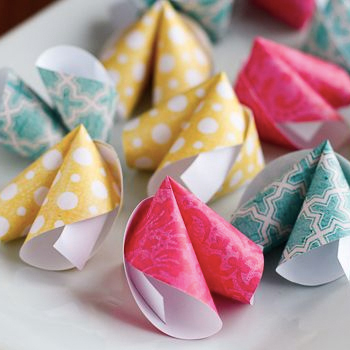
Image from: http://unsophisticook.com/how-to-make-paper-fortune-cookies/
1 – Write your fortune on a slip of paper.
2 – Draw around your CD on your nice paper and cut out.
3 -F old your circle of paper in half gently (do not squeeze the fold down).
4 – Holding your paper shape at each side (the paper has been gently folded retaining its shape). Slide your fortune inside the paper cookie.
5 – Then continue to fold the cookie back on itself, squeezing the paper together creating the classic fortune cookie shape.
6 – Using one small bit of stick tape folded back on itself, stick the the two bits of paper facing in on each other together.
Check out this video tutorial for the fortune cookies: https://www.youtube.com/watch?v=dfHlMCrm3xA